Guide 7: How to create webhooks using the Alchemy SDK
Use the Alchemy SDK to create webhooks and get notified about key transaction activity.
The SDK Developer Challenge: What are we here for?
The SDK Developer Challenge is an opportunity to build and learn together, using daily guides to inspire and motivate you to supercharge your app with the SDK.
The SDK will be your secret weapon to help simplify your code so you can build faster.
As you build, submit your project to win prizes.
What could you win? Epic never-before seen Alchemy swag, and $500 in monthly Alchemy credit.
For all of the challenges, you will need to set up a free Alchemy account. This will give you access to the SDK, as well as a HUGE selection of web3 development tools.
Ok, let's go!
Guide 7: How to create an Alchemy Notify webhook using the Alchemy SDK
In this guide, we will assume that you already know how to:
- Set up an Alchemy SDK instance in your local project and initialize it with your Alchemy API Key
- Perform basic navigation of the command line
- Make an API call to Alchemy
- Show the results in your terminal
If you don't, head on back to Guide 2, How to get started on the Alchemy SDK.
Intro
What is a webhook? 🤔
A webhook is a way for two computer systems to communicate with each other in real-time. When an event occurs in one system, it sends a message to the other system through a URL endpoint that was previously configured. The receiving system can then take some action based on the data it receives in the message.
For example, if you use an online form builder to collect customer data, you can set up a webhook so that each time a new form submission is received, another system, e.g., a CRM too, is notified. This allows you to keep all your systems up-to-date and synchronized without having to manually transfer data between them.
Setting up a webhook using Alchemy Notify
Alchemy Notify allows developers to send real-time push notifications to users for critical events.

Thanks to Alchemy's Notify Enhanced APIs, you can set up web3 dApp push notifications.
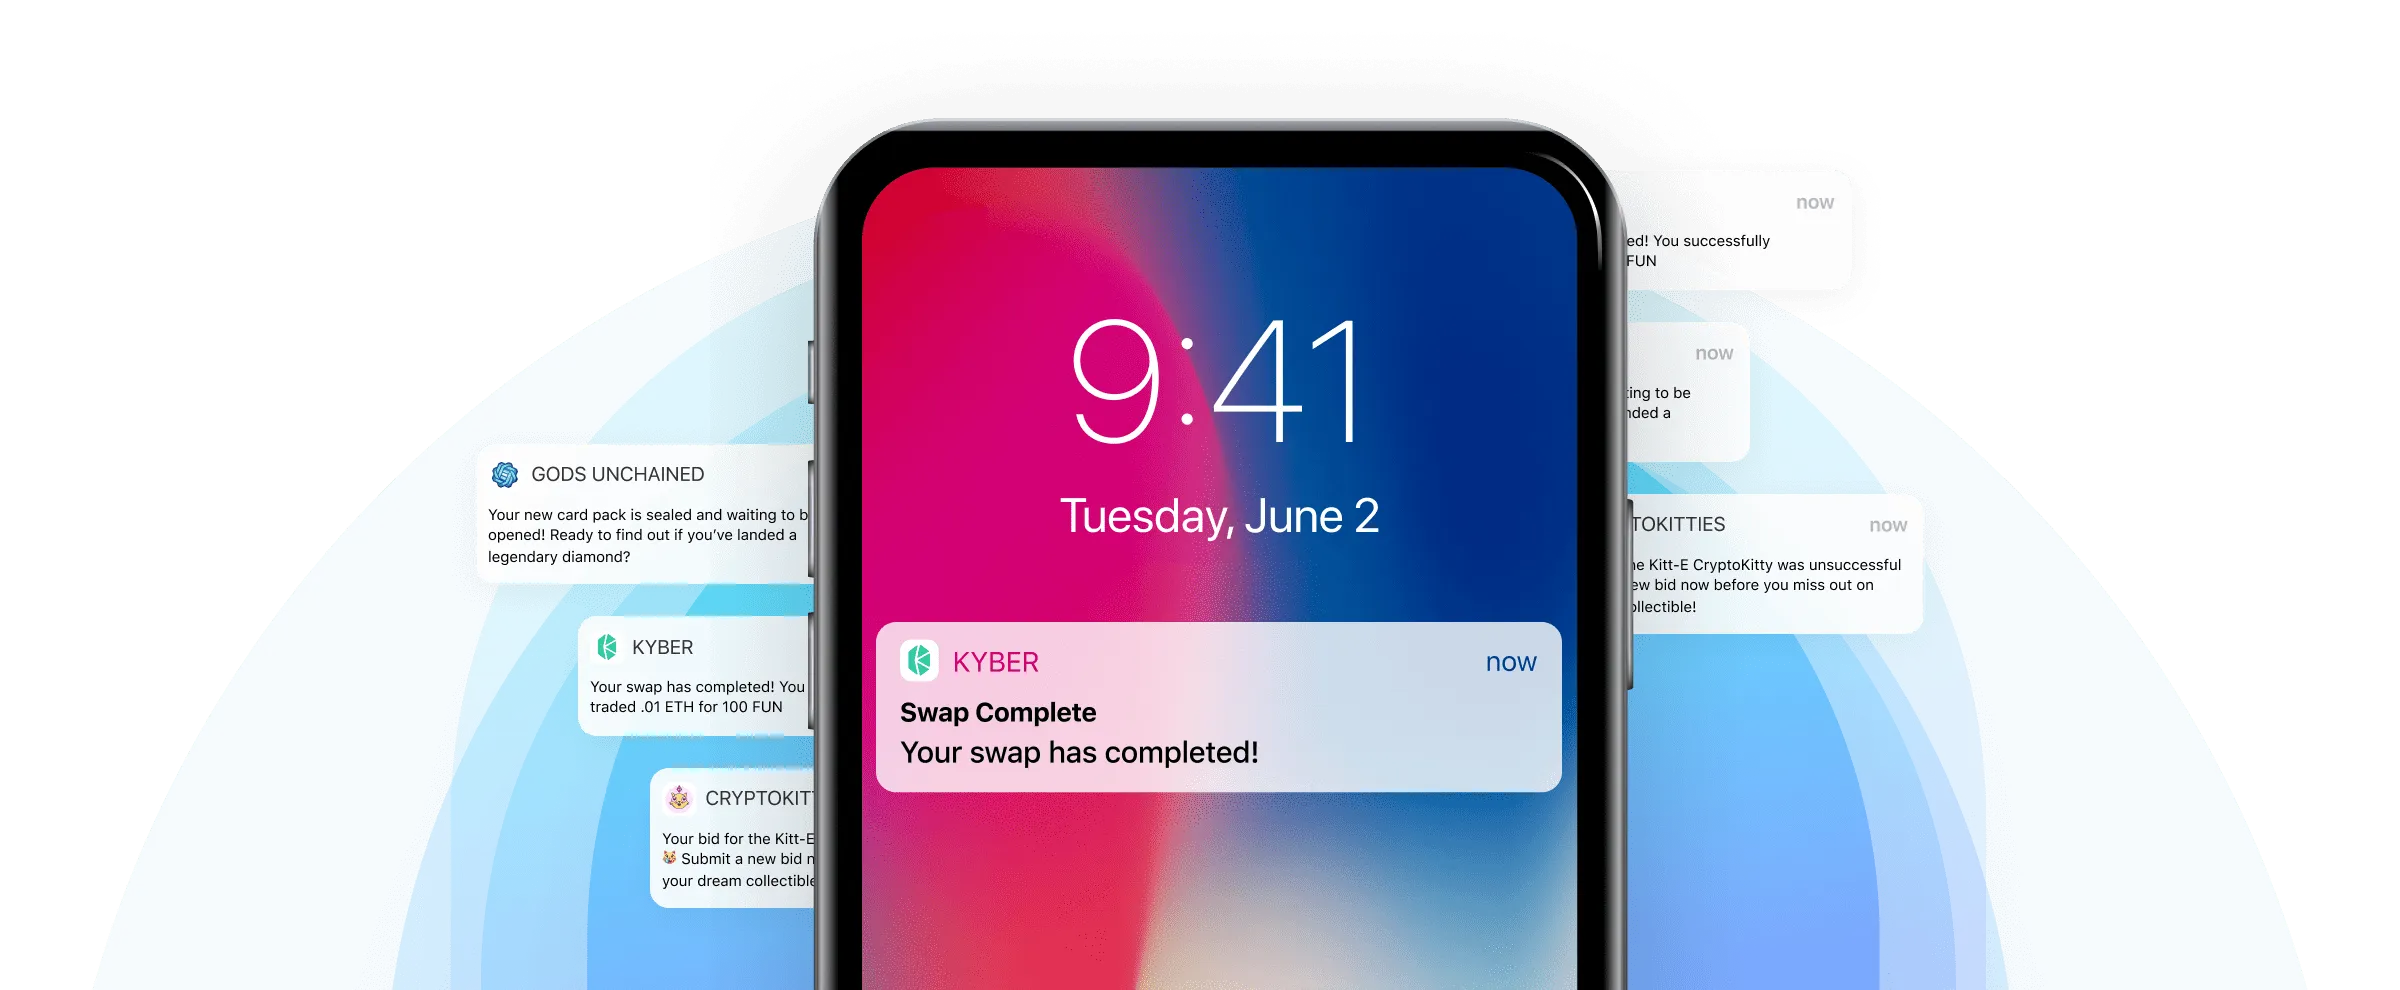
You've seen these notifications on any web3 mobile-enabled dApp! They can look something like:
- You just sent
.5 ETHto0x123...abc! cryptopunk6068.ethjust sent you.5 ETH!- Your Kyber Network swap is complete!
- Your OpenSea NFT purchase was successful!
How Does the Alchemy SDK Help with dApp Push Notifications?
The Alchemy SDK gives you instant access to Alchemy's Notify Enhanced API!
In this guide, we'll show you how to use the Alchemy SDK to access the Notify API and set up a webhook that sends information about an on-chain event to any URL (typically one representing a server you own) for further data consumption.
This can be useful if you have a specialized server that sends push notifications to your mobile users, as Notify will allow you to instantly transport an event that happens on-chain, e.g., a user receiving some ETH, to your mobile push notification distribution server. Let's go! 📲
Step 1: Get a Special Alchemy API Key for Notify
In order to use the Alchemy Notify functionality of the SDK, you'll need a special API Key, different from your typical Alchemy API key!
Just follow these steps to get one:
- Go to your Alchemy dashboard
- Click the hamburger icon in the top-right corner
- Select
Notify - In the top-right corner, select the
Auth Tokenbutton - Copy-paste the
authTokeninto your.envfile and name itALCHEMY_NOTIFY_TOKEN - Save and close the
.envfile
This is your special authentication token that will allow you to use the Alchemy Notify endpoint powers!
Step 2: Import Code Snippet into Local Project
require('dotenv').config();
const { Alchemy, Network, WebhookType } = require('alchemy-sdk');

// authToken is required to use Notify APIs. Found on the top right corner of
// https://dashboard.alchemy.com/notify.
async function createAddressActivityNotification() {
  const settings = {
    authToken: process.env.ALCHEMY_NOTIFY_TOKEN,
    network: Network.ETH_MAINNET, // Replace with your network.
  };

  const alchemy = new Alchemy(settings);
  const addressActivityWebhook = await alchemy.notify.createWebhook(
		// TO DO: You will replace this URL in Step #3 of this guide!
    'https://webhook.site/your-webhook-url',
    WebhookType.ADDRESS_ACTIVITY,
    {
      // use any address you want to monitor activity on!
      addresses: ['0x2c8645BFE28BEEb6E19843eE9573b7539DD5B530'],
      network: Network.ETH_GOERLI,
    }
  );
	console.log(
    'Alchemy Notify address activity notification created, go to https://dashboard.alchemy.com/notify to see details of your custom hook.'
  );
}

createAddressActivityNotification();
Step 3: Use webhook site to test your webhook
If you are building a dApp, replace this step with your dApp's CRUD server URL. Otherwise, for learning purposes, use the following webhook site to test:
- Go to https://webhook.site/
- Copy the URL from the section where it says
Your unique URL - Paste this url into
Line 15of the code snippet you just copy-paste above
Keep this tab open! You'll be able to see your Notify hook working in real time in Step 5! 👀
Step 4: Run Your Script!
Once you have everything set up:
- Run
node createAddressNotification.js
Your terminal will display a simple message:

If you set everything up correctly, you will see the above message in your terminal when you run the above command!
- Go to https://dashboard.alchemy.com/notify and you will indeed see the custom notification hook you just created in the UI:

Boom! You just programmatically created an Alchemy Notify webhook! 🤯
Step 5: See Your Webhook In Action!
- Go back to your https://webhook.site/ tab from Step 3
- On Goerli, send a tiny amount of ETH to the address that was in the code snippet
If you don't want to waste any testnet ETH, that's ok! Just repeat Step 2 but plug in an address that you own into
Line 19!
Once the transaction is sent, you will immediately see your webhook return a ton of useful data!
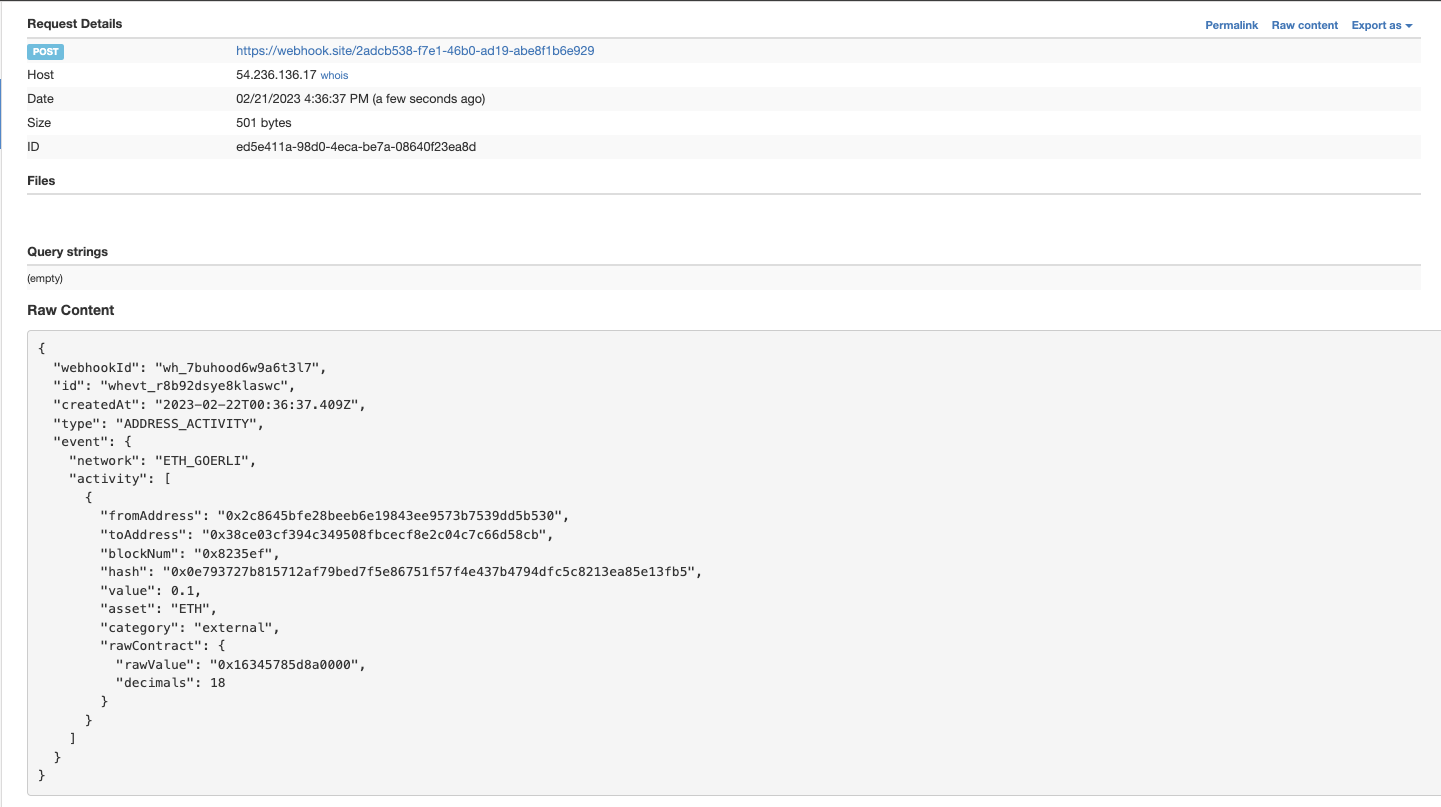
Here's what our webhook site displayed once we sent some ETH from the address we set up an Alchemy webhook for:

Soooo much info we get INSTANTLY!
When we sent .1 ETH from the address we set the webhook to listen to, we immediately got the following JSON response:
{
  "webhookId": "wh_7buhood6w9a6t3l7",
  "id": "whevt_r8b92dsye8klaswc",
  "createdAt": "2023-02-22T00:36:37.409Z",
  "type": "ADDRESS_ACTIVITY",
  "event": {
    "network": "ETH_GOERLI",
    "activity": [
      {
        "fromAddress": "0x2c8645bfe28beeb6e19843ee9573b7539dd5b530",
        "toAddress": "0x38ce03cf394c349508fbcecf8e2c04c7c66d58cb",
        "blockNum": "0x8235ef",
        "hash": "0x0e793727b815712af79bed7f5e86751f57f4e437b4794dfc5c8213ea85e13fb5",
        "value": 0.1,
        "asset": "ETH",
        "category": "external",
        "rawContract": {
          "rawValue": "0x16345785d8a0000",
          "decimals": 18
        }
      }
    ]
  }
}
Basically, a FULL rundown of all the transaction details that just occurred... instantly! This is SO useful for monitoring and utilizing data based on the transaction activity of ANY address on Ethereum.
Step 6: Customize Your Script
We gave you a code snippet that helps you set up an Alchemy Notify webhook using the SDK, on an address that we use for testing.
Now, try setting up a new webhook on an address that YOU own and then test with that!
Want an extra challenge? Skip Step 3 and set up your own local server to accept the webhook POST request. One app feature that might really impress judges at hackathons is doing this so that you further process the data into a Twilio request - this allows you to enable instant mobile push notifications for your dApp users! You got this!
Updated almost 2 years ago
