How to Use Custom Webhooks for Web3 Oracle Updates
Learn How to get Web3 Oracle Updates to Your Dapp with Custom Webhooks
Webhooks are a way for applications to provide real-time notifications to other applications or services.
In essence, a webhook is a URL endpoint that an application exposes and configures to receive data from another application in the form of an HTTP POST request.
With Alchemy's Custom Webhooks, developers can configure blockchain data to get specific custom notifications needed for their applications.
One of the practical use cases for Custom Webhooks includes oracle updates. This article will explore what oracle updates are and how to deploy Custom Webhooks to stay notified about any oracle changes.
If you are familiar with web3 oracles and their use cases, skip ahead to the “How to” guide.
What are web3 oracle updates?
An oracle service provides blockchain-based smart contracts with reliable off-chain information. The oracle acts as an intermediary between on-chain smart contracts and off-chain data sources like APIs and databases.
With web3 oracles, blockchain-based smart contracts can function and trigger events based on real-world information.
A web3 oracle update is an action that occurs when the data that the oracle is providing changes.
For example, if an oracle is providing the price of a cryptocurrency token to a smart contract, whenever the price of the cryptocurrency changes, the oracle is required to update its data feed. Once the data feed updates, the current price is reflected in the smart contract, which can trigger other actions or transactions based on the new price data.
What are common use cases for web3 oracle updates?
Oracles are necessary for financial tools, since reliable data is critical to fulfill smart contract operations. Decentralized finance, prediction markets, and supply chain management are three use cases for oracles.
1. Decentralized Finance (DeFi)
DeFi applications recreate traditional finance tooling in a decentralized and permissionless environment, built on a blockchain. External data sources such as cryptocurrency price feeds, market data, and other financial instruments are critical for DeFi applications. Applications depend on oracles to supply reliable and current data.
Oracles must update data feeds constantly using information from external sources, including centralized exchanges and market data providers, to provide trustworthy information to the decentralized application.
2. Prediction Markets
Web3 oracle updates are essential in prediction markets, which allow users to wager on the outcome of future events. These markets rely on real-time data to ensure that the prices of prediction tokens accurately reflect the possibility of the event occurring.
Web3 oracles supply the smart contract that manages the market with constantly changing data such as sports scores, election results, or market data. The smart contract then uses this information to calculate the current value of the prediction tokens, which users can buy and sell.
3. Supply Chain Management
Web3 oracle updates in supply chain management can provide real-time data on the movement of goods and materials in a supply chain. Inventory levels, shipping times, delivery schedules, and other critical metrics can all be included in these data.
Different parties are involved in a supply chain, including manufacturers, suppliers, logistics providers, and retailers. Each of these parties may have its own database or system to track its portion of the supply chain, making a unified view of the entire supply chain difficult.
Web3 oracle updates connect the supply chain's different systems and databases by providing real-time data to a decentralized application. Doing so can help to ensure that all parties involved have equal access to the same information, promoting transparency and reducing the risk of fraud.
How to Use Custom Webhooks for Web3 Oracle Updates
Developers need following tools to implement Alchemy’s Custom Webhooks:
- An Integrated Development Environment (Vscode)
- Nodejs.
- Expressjs Framework.
- Node Package Manager (NPM).
- An Alchemy Account.
- Alchemy Custom Webhooks.
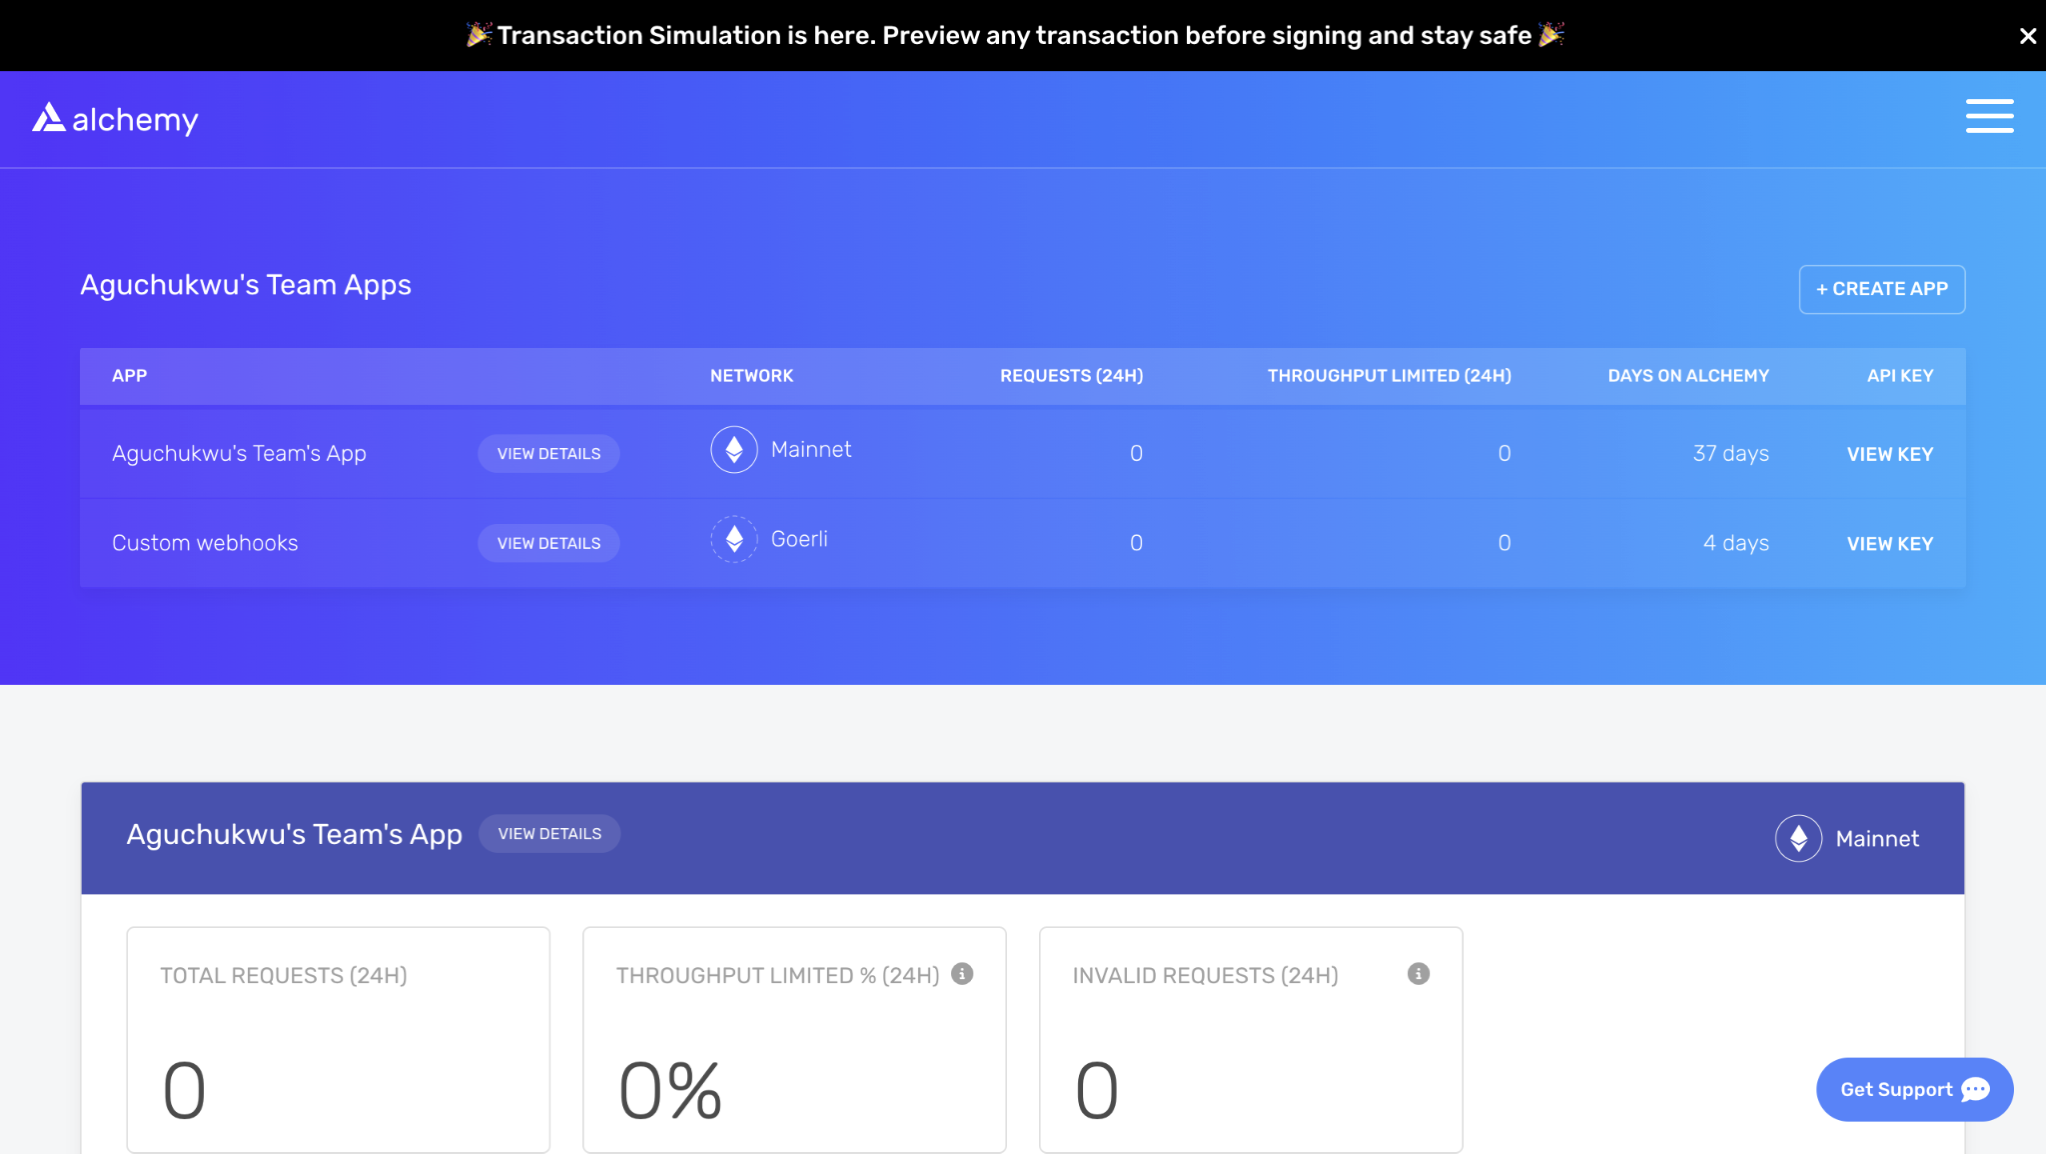
Step 1: Sign up for Alchemy
First, go to the Alchemy home page and click Get Started for Free.
Follow the instructions to create an account.
Doing so provides access to the dashboard.
Step 2: Configure the Development Environment
After creating an Alchemy account go to the local environment to make configuration for this project.
Create a folder for the project using terminal or graphical user interface.
Open the folder with terminal or make use of Vscode and click on a new terminal.
Run npm init -yto initialize an npm project.
Then run npm i express to install expressjs.
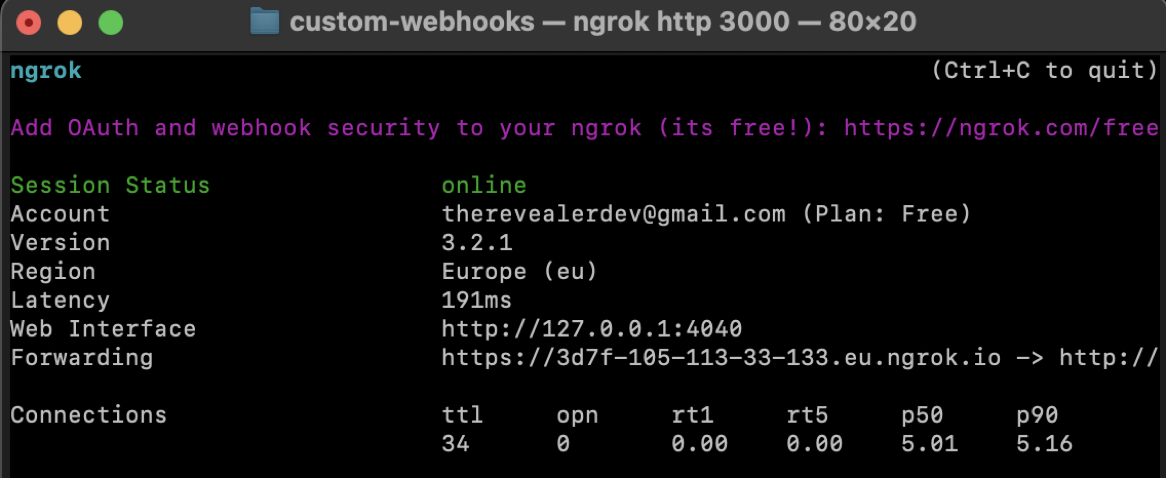
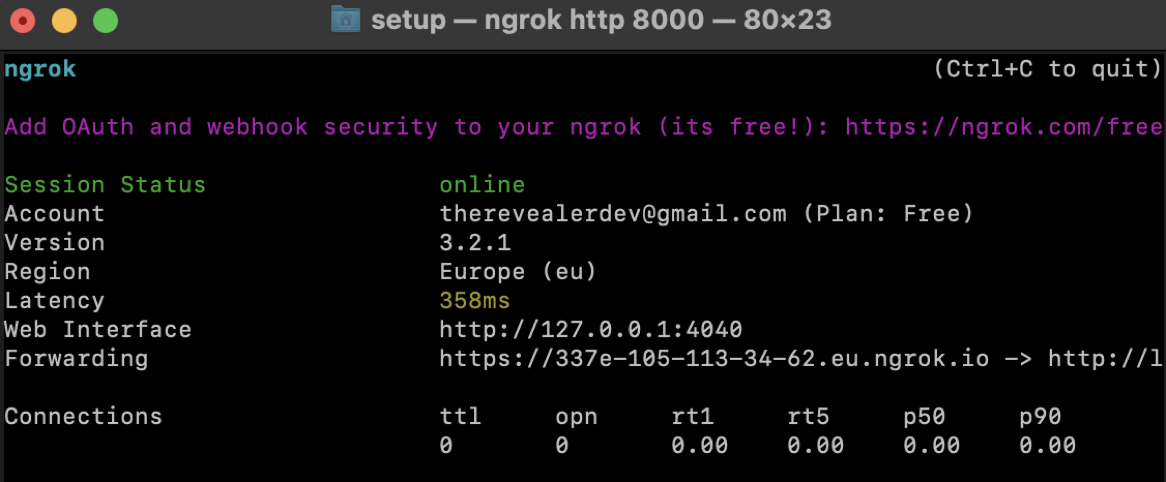
Developers will also need a Ngrok account. Ngrok is a tool that allows users to expose a local server to the public internet for testing.
Sign up for a free Ngrok account. Ngrok provides users with a token to help connect the account with their server once they have signed up for a Ngrok account.
Install Ngrok. Users that have not installed software packages from terminal on MacOS or Linux for the first time might need to install brew.
Connect the Ngrok account by running the following command Ngok authtoken AUTH_TOKEN.
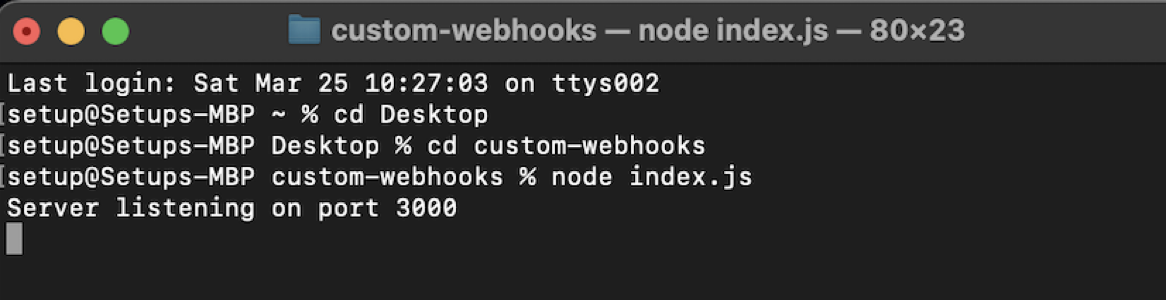
Step 3: Create a Webhook Listener
Next, create a webhook listener that receives requests from the custom webhooks.
Open Vscode, create an index.js file, and paste the following code into the field.
const express = require("express");
const bodyParser = require('body-parser');

// Create a new App
const app = express();
app.use(bodyParser.json());

// Route for webhook events
app.post('/webhook', (req, res) => {
 const event = req.body;
;

 // Handle the event here
 console.log('Welcome to Alchemy Custom Webhooks:', event);
 res.status(200).send('OK');
});

// Start the server
const PORT = process.env.PORT || 3000;
app.listen(PORT, () => {
 console.log(`Server listening on port ${PORT}`);
});
To start the server enter run node index.js in the terminal.
Open another terminal and run ngrok http PORT_NUMBER_FROM_EXPRESS
Step 4: Create a Webhook with GraphQL
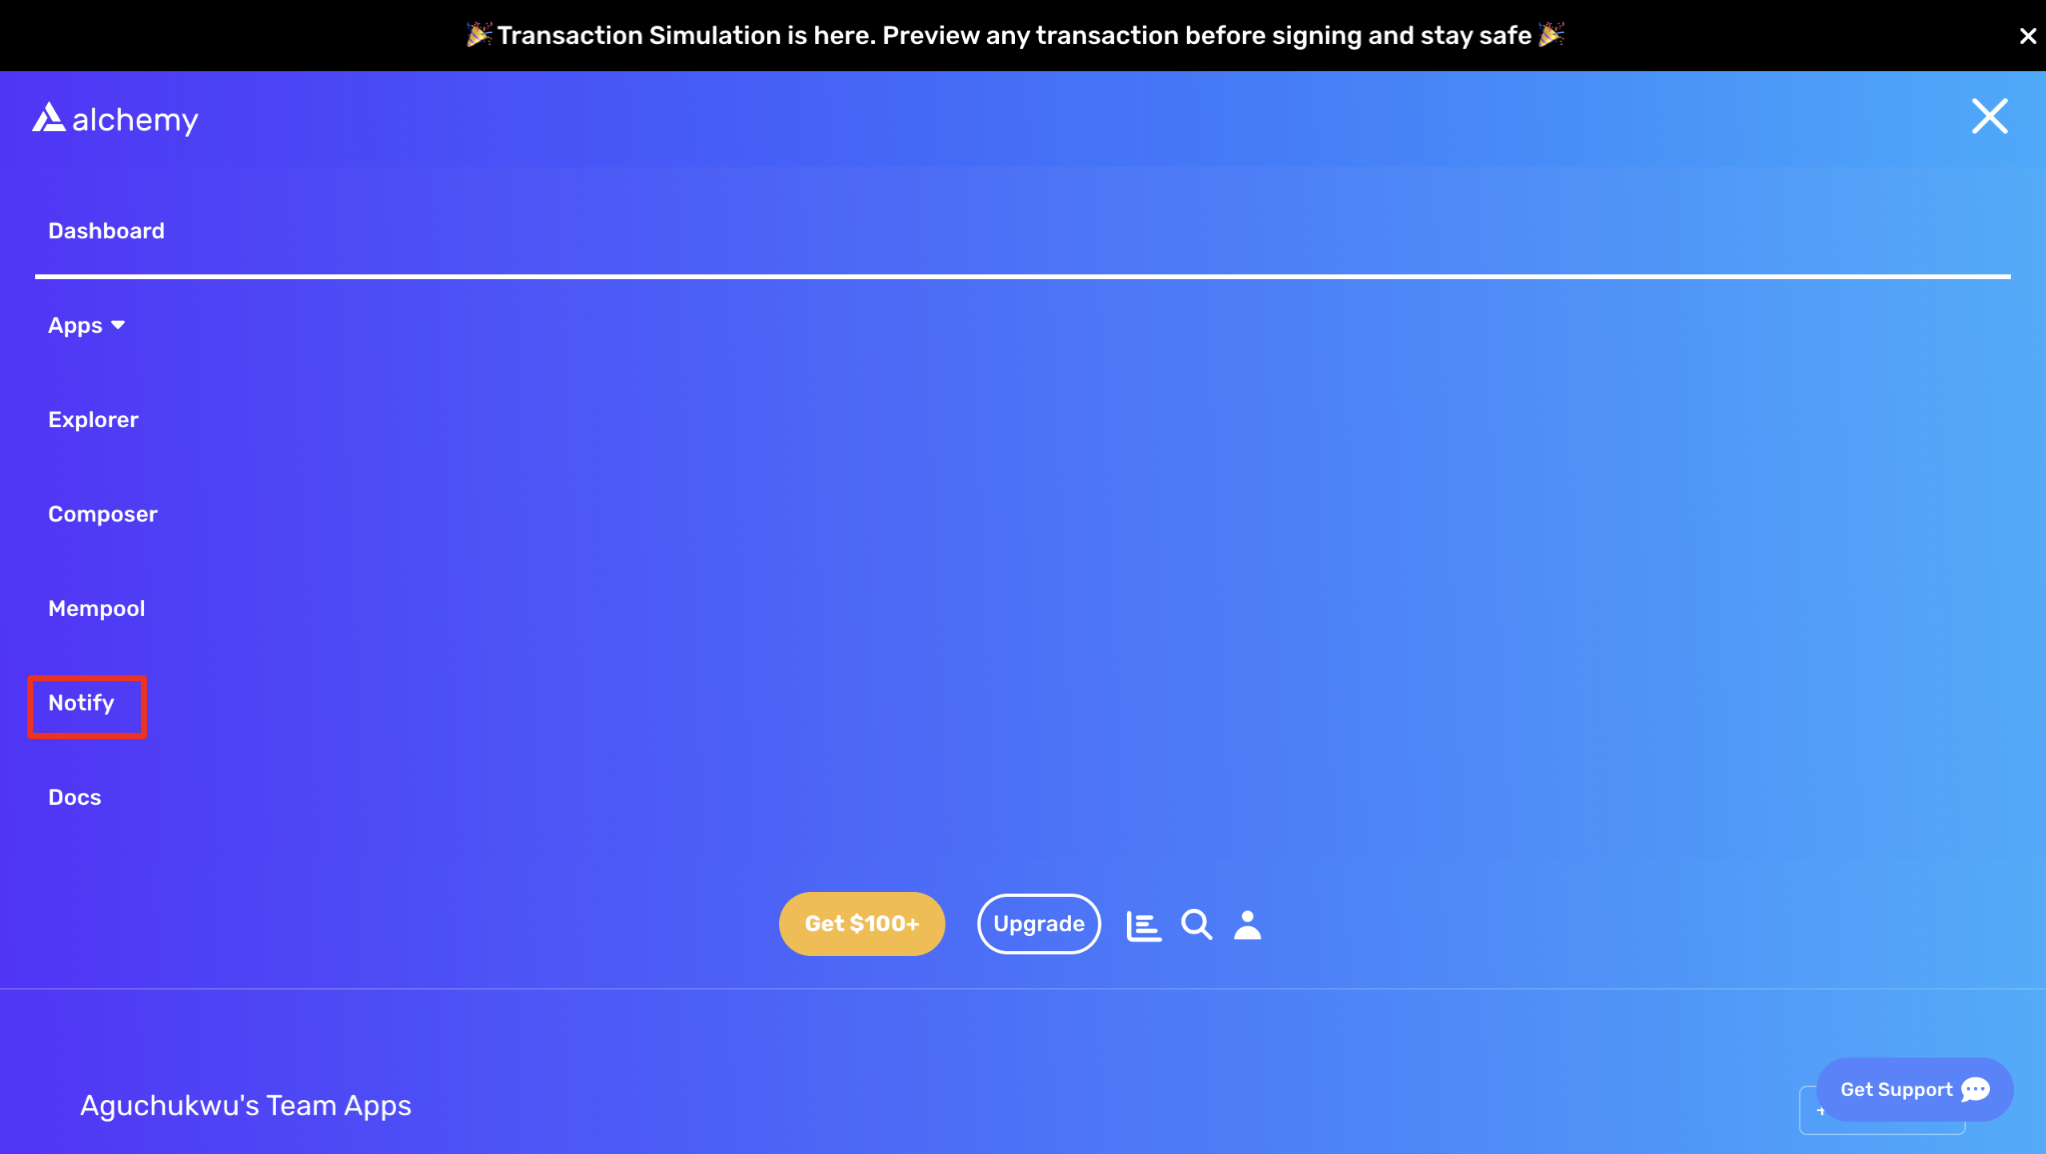
Next, return to the Alchemy dashboard and click on the notify tab.
Click the create webhook button to create a new webhook.
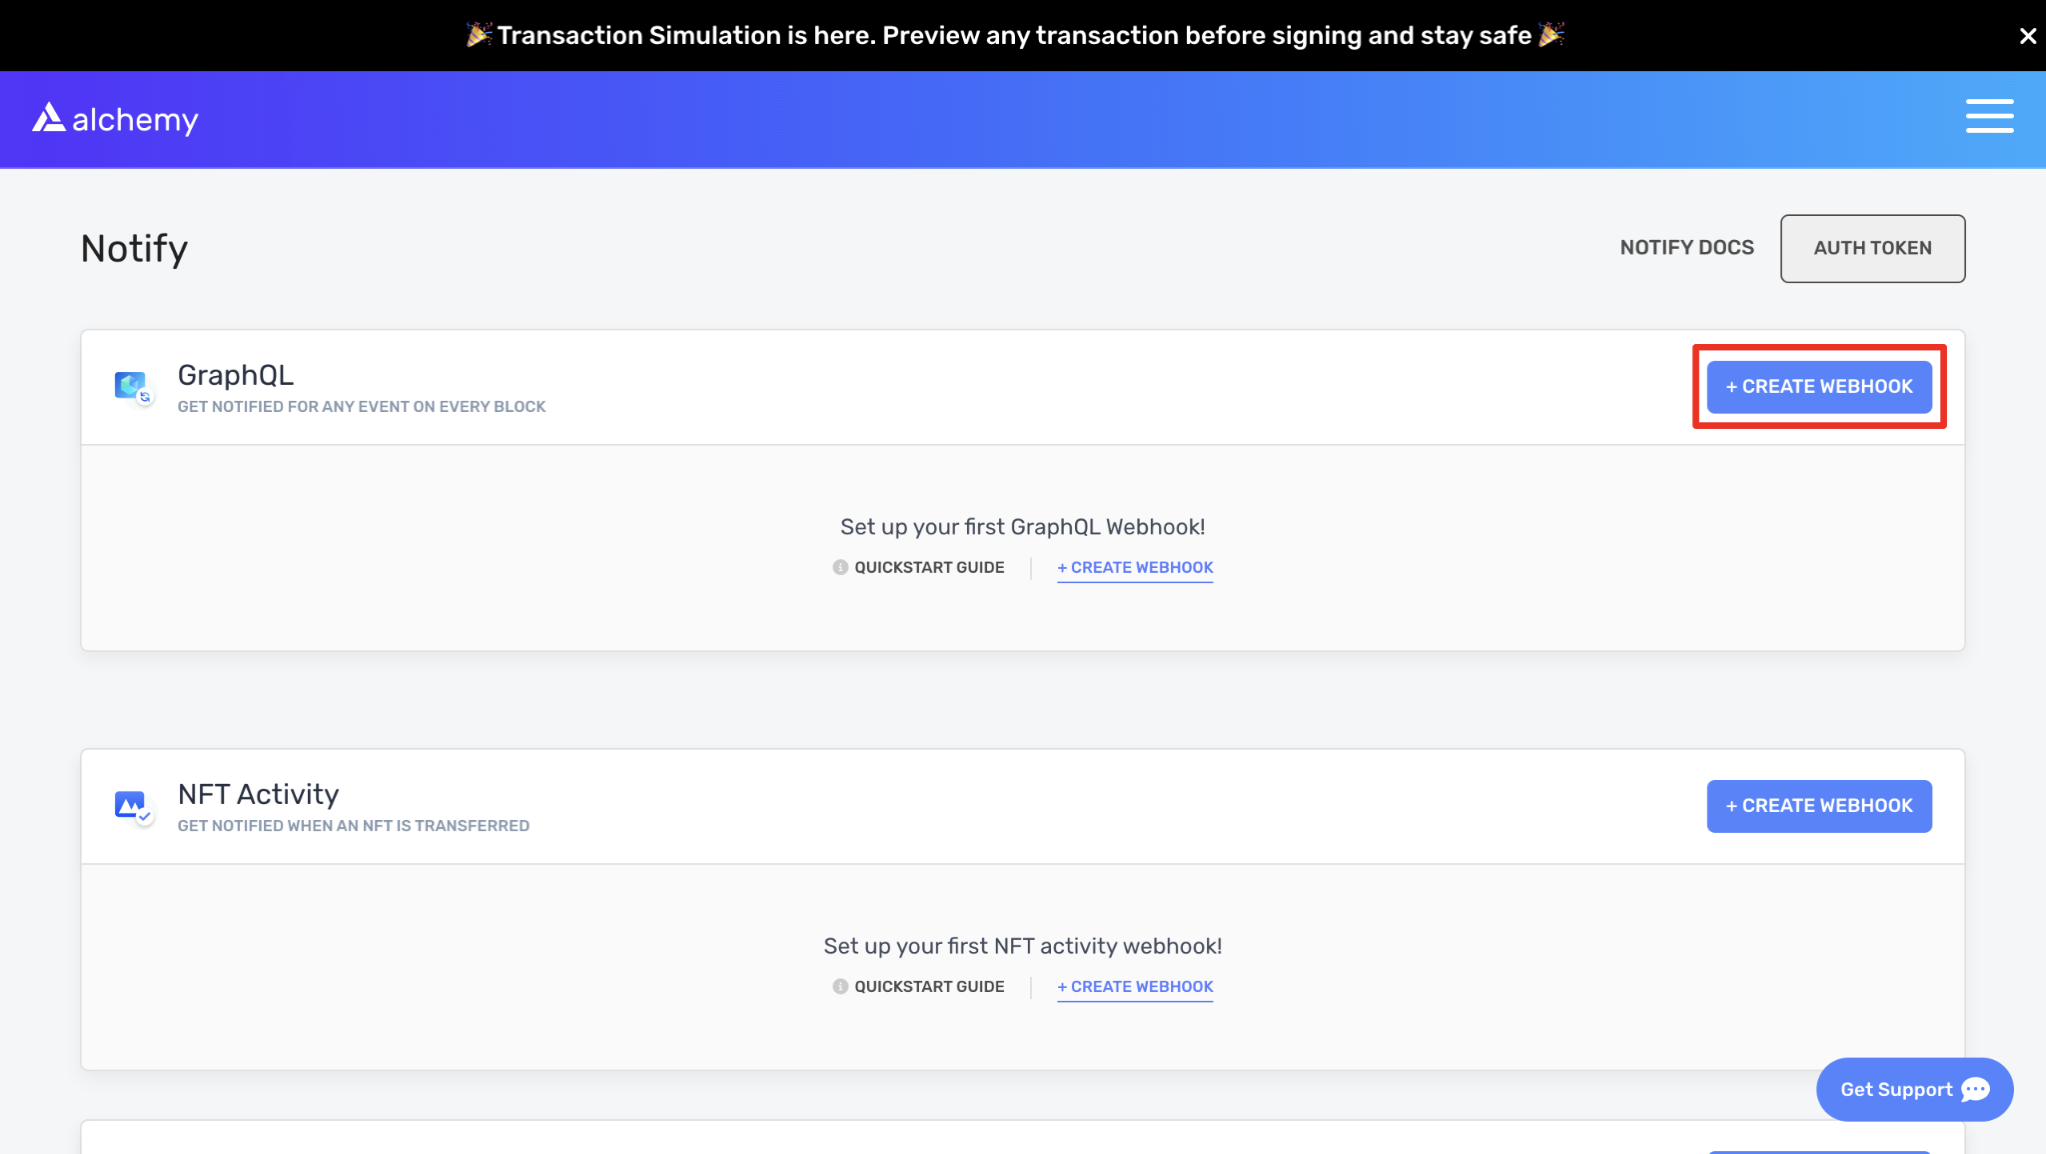
Doing so routes to GraphQL query playground to customize queries to fetch specific data.
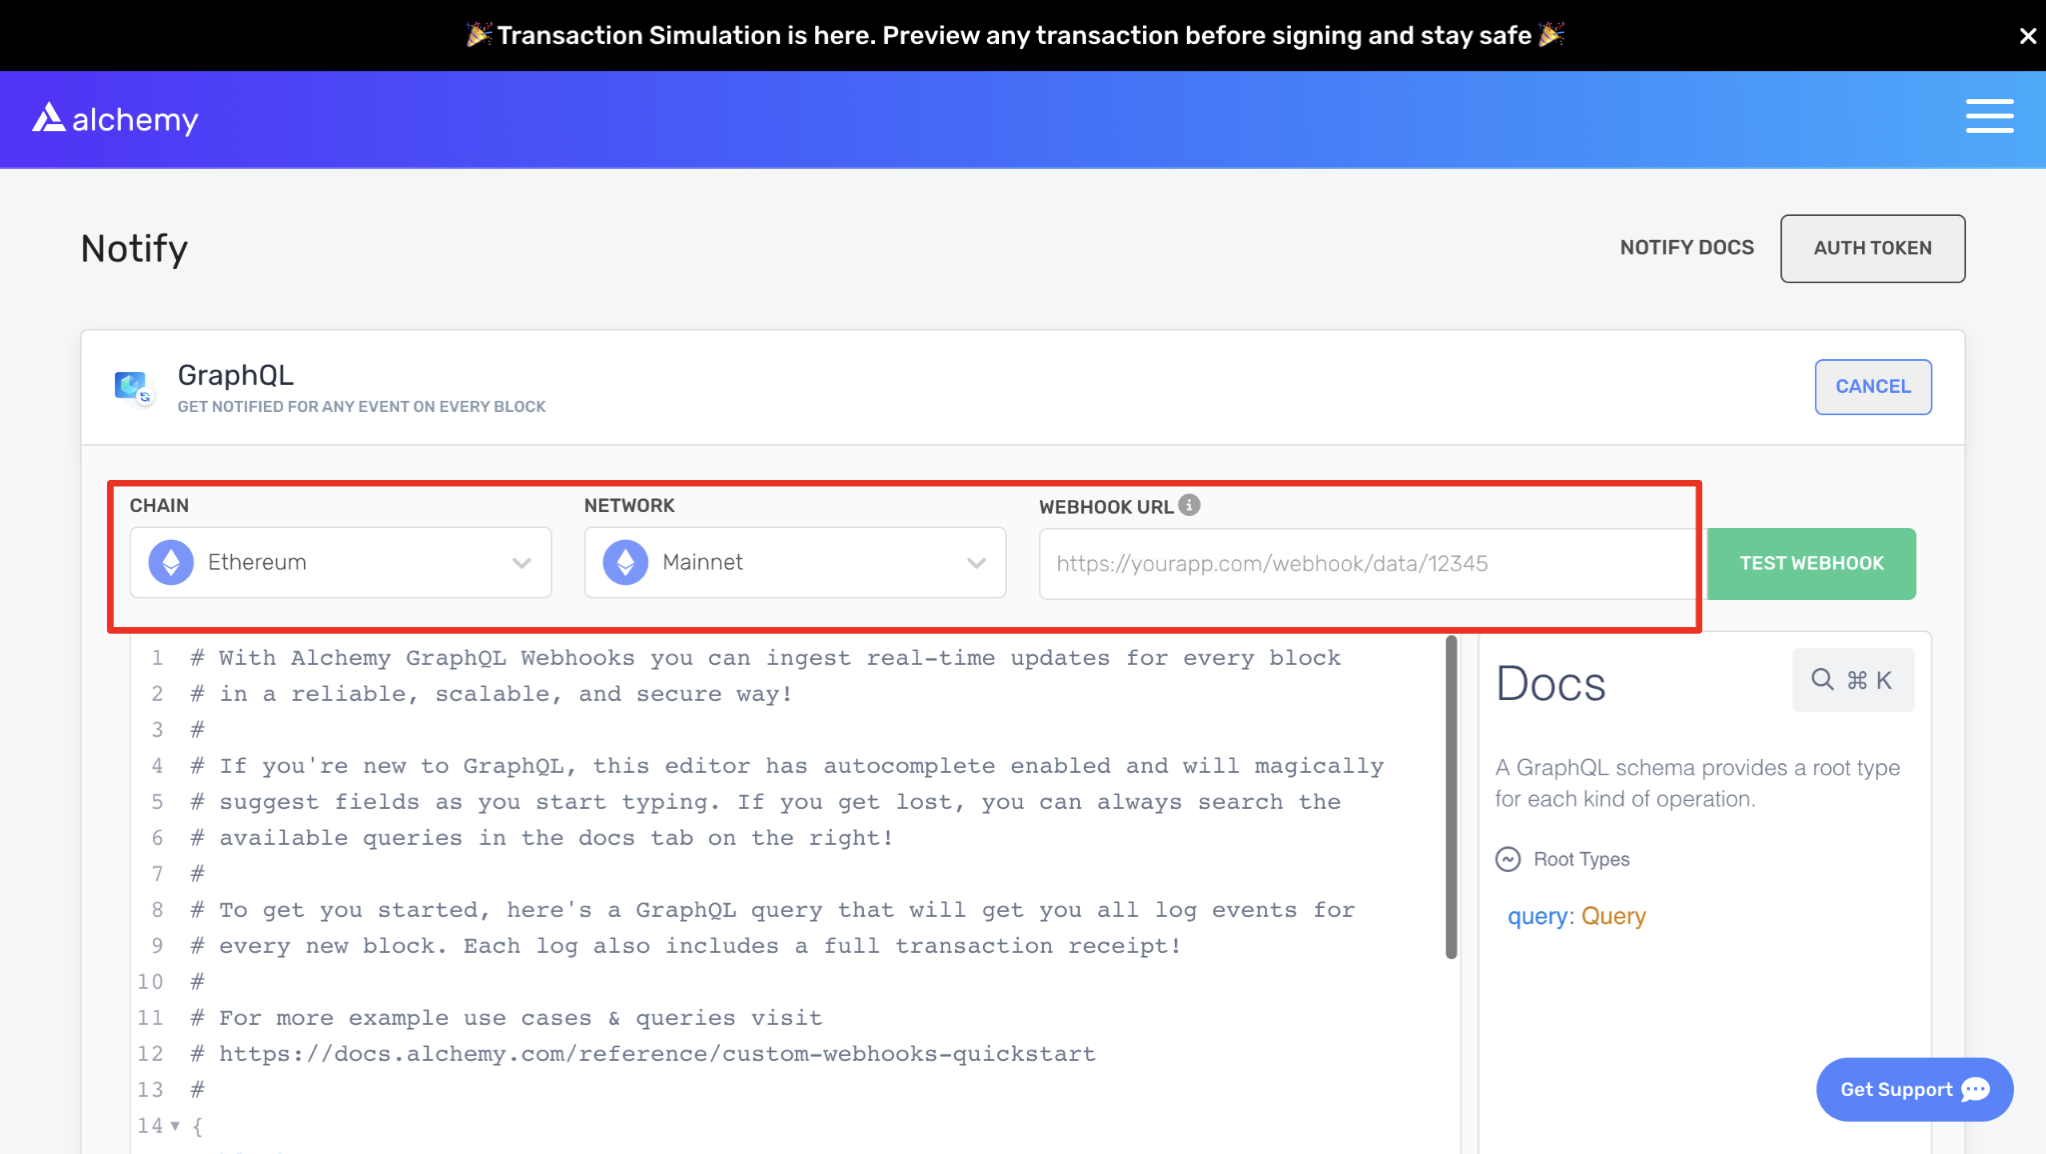
Select the preferred chain and network from the playground.
Alchemy supports Ethereum, Arbitrium, Optimism, and Polygon for Custom Webhooks. This tutorial will use Ethereum.
Paste this query in the playground:
{
   block (hash: "0x3d789af3f1c94d727cbd497e3f867375e592931125fdb2addb56485fb5aecbaa") {
     # Block hash is a great primary key to use for your data stores!
     hash,
     number,
     timestamp,
     # Add smart contract addresses to the list below to filter for specific logs
     logs(filter: {addresses: ["0x37bc7498f4ff12c19678ee8fe19d713b87f6a9e6"], topics: ["0x0559884fd3a460db3073b7fc896cc77986f16e378210ded43186175bf646fc5f"]}) {
       data,
       topics,
       index,
       account {
         address
       },
       transaction {
         hash,
         nonce,
         index,
         from {
           address
         },
         to {
           address
         },
         value,
         gasPrice,
         maxFeePerGas,
         maxPriorityFeePerGas,
         gas,
         status,
         gasUsed,
         cumulativeGasUsed,
         effectiveGasPrice,
         createdContract {
           address
         }
       }
     }
   }
 }
The contract address for the smart contract that emits events for Chainlink price updates is passed as an argument in the GraphQL code above, and the transaction hash of the smart contract is passed as the event topic.
Step 5: Connect Your Server with Your Webhook
The final step is to connect the server to the webhook and start receiving notifications.
Copy the following link and paste it into the terminal.
https://337e-105-113-34-62.eu.ngrok.io
Then add /webhookat the end.
https://337e-105-113-34-62.eu.ngrok.io/webhook
Copy this link and paste it into the Custom webhook URL tab then click on the create webhook button.

Step 6. Verify the Data
Go to your terminal to check the data.
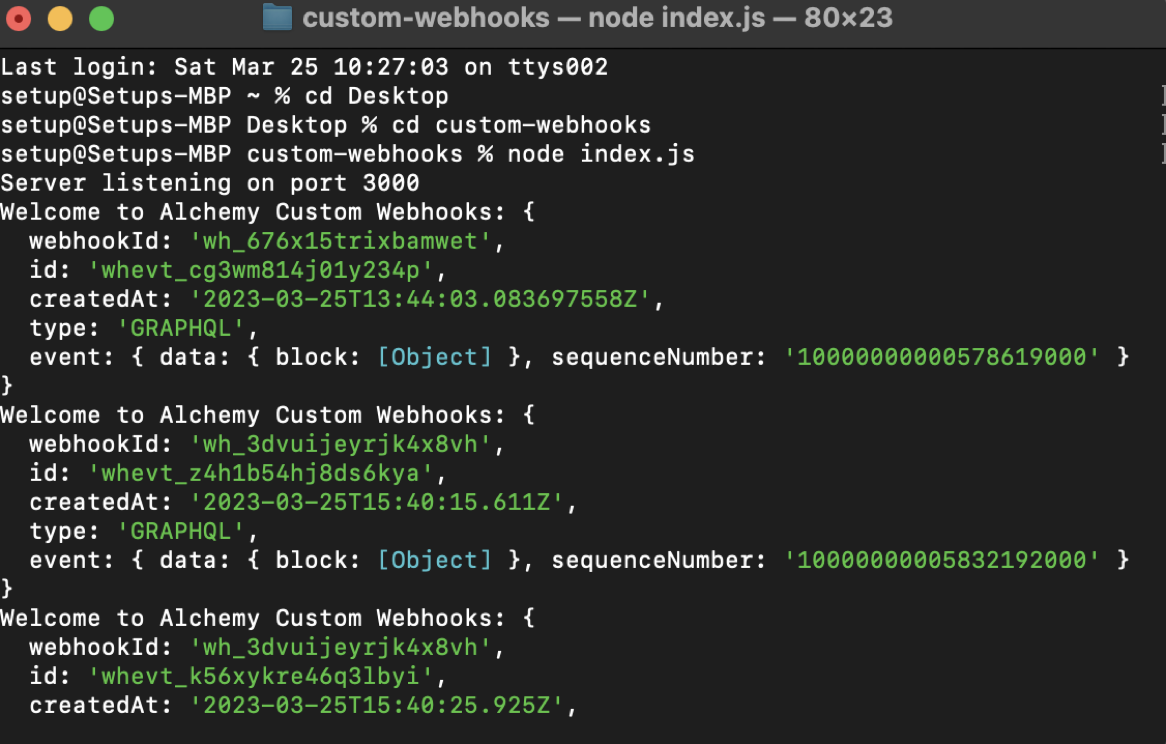
Run the following to adjust the event to be more specific when displaying data.
// Route for webhook events
app.post('/webhook', (req, res) => {
 const event = req.body.event.data.block;
}
The result is a more detailed version of the price updates.
Congratulations on making use of Alchemy custom webhooks for oracle price updates.
Find more information on Custom Webhooks on Alchemy’s website and in the FAQs.
Updated about 2 years ago