Running an Eth2.0 Staking Node or Validator with Alchemy
A quick guide to setting up your Eth2 node or validator using Alchemy as your Web3 provider. We'll make sure this guide is actively updated as Eth 2.0 continues to roll out!
If you want general information on Ethereum 2.0, we recommend checking out ethereum.org.
You can use Alchemy to support your Eth2 project by running a beacon node or running a validator (note if you want to run a validator you'll have to also run a node to interact with the beacon chain). A beacon node simply maintains a view of the beacon chain and shard chain, while validators actively mine and validate new blocks (earning rewards in the process). In order to become a validator, you have to stake 32 Eth. You can learn more about staking on ethereum.org and on EthHub.
There are a handful of beacon node clients to choose from. This guide will show you how to set up your keys, initiate your staking transaction, and then set up your node/validator for either a Prysm node or a Teku node. The setup process should is necessary for other node clients!
NOTE
If you are just getting started it is highly recommended to run an Eth2 testnode prior to jumping into mainnet. This guide will walk you through using the Goerli test network.
Getting Started
Before we can begin setting up our Ethereum 2.0 node, we should make sure we have met all the requirements to run our node. You can find the full list of requirements by running through the Eth2 validator checklist. The same instructions can be run with the mainnet.
What you'll need
- A wallet with 32 Ethereum
1. Checking advisories
We'll start by going through the Ethereum foundation advisory checklist:
Some notable advisories:
- Setup will require some use of the command line - luckily you've got this great guide to walk you through all the technical portions.
- Uptime is important! You will only get rewards if your validator is online. If your validator is offline, you will be penalized.
- You will have to manage your validator key & passwords.
Complete the checklist until you get to the confirmation step.
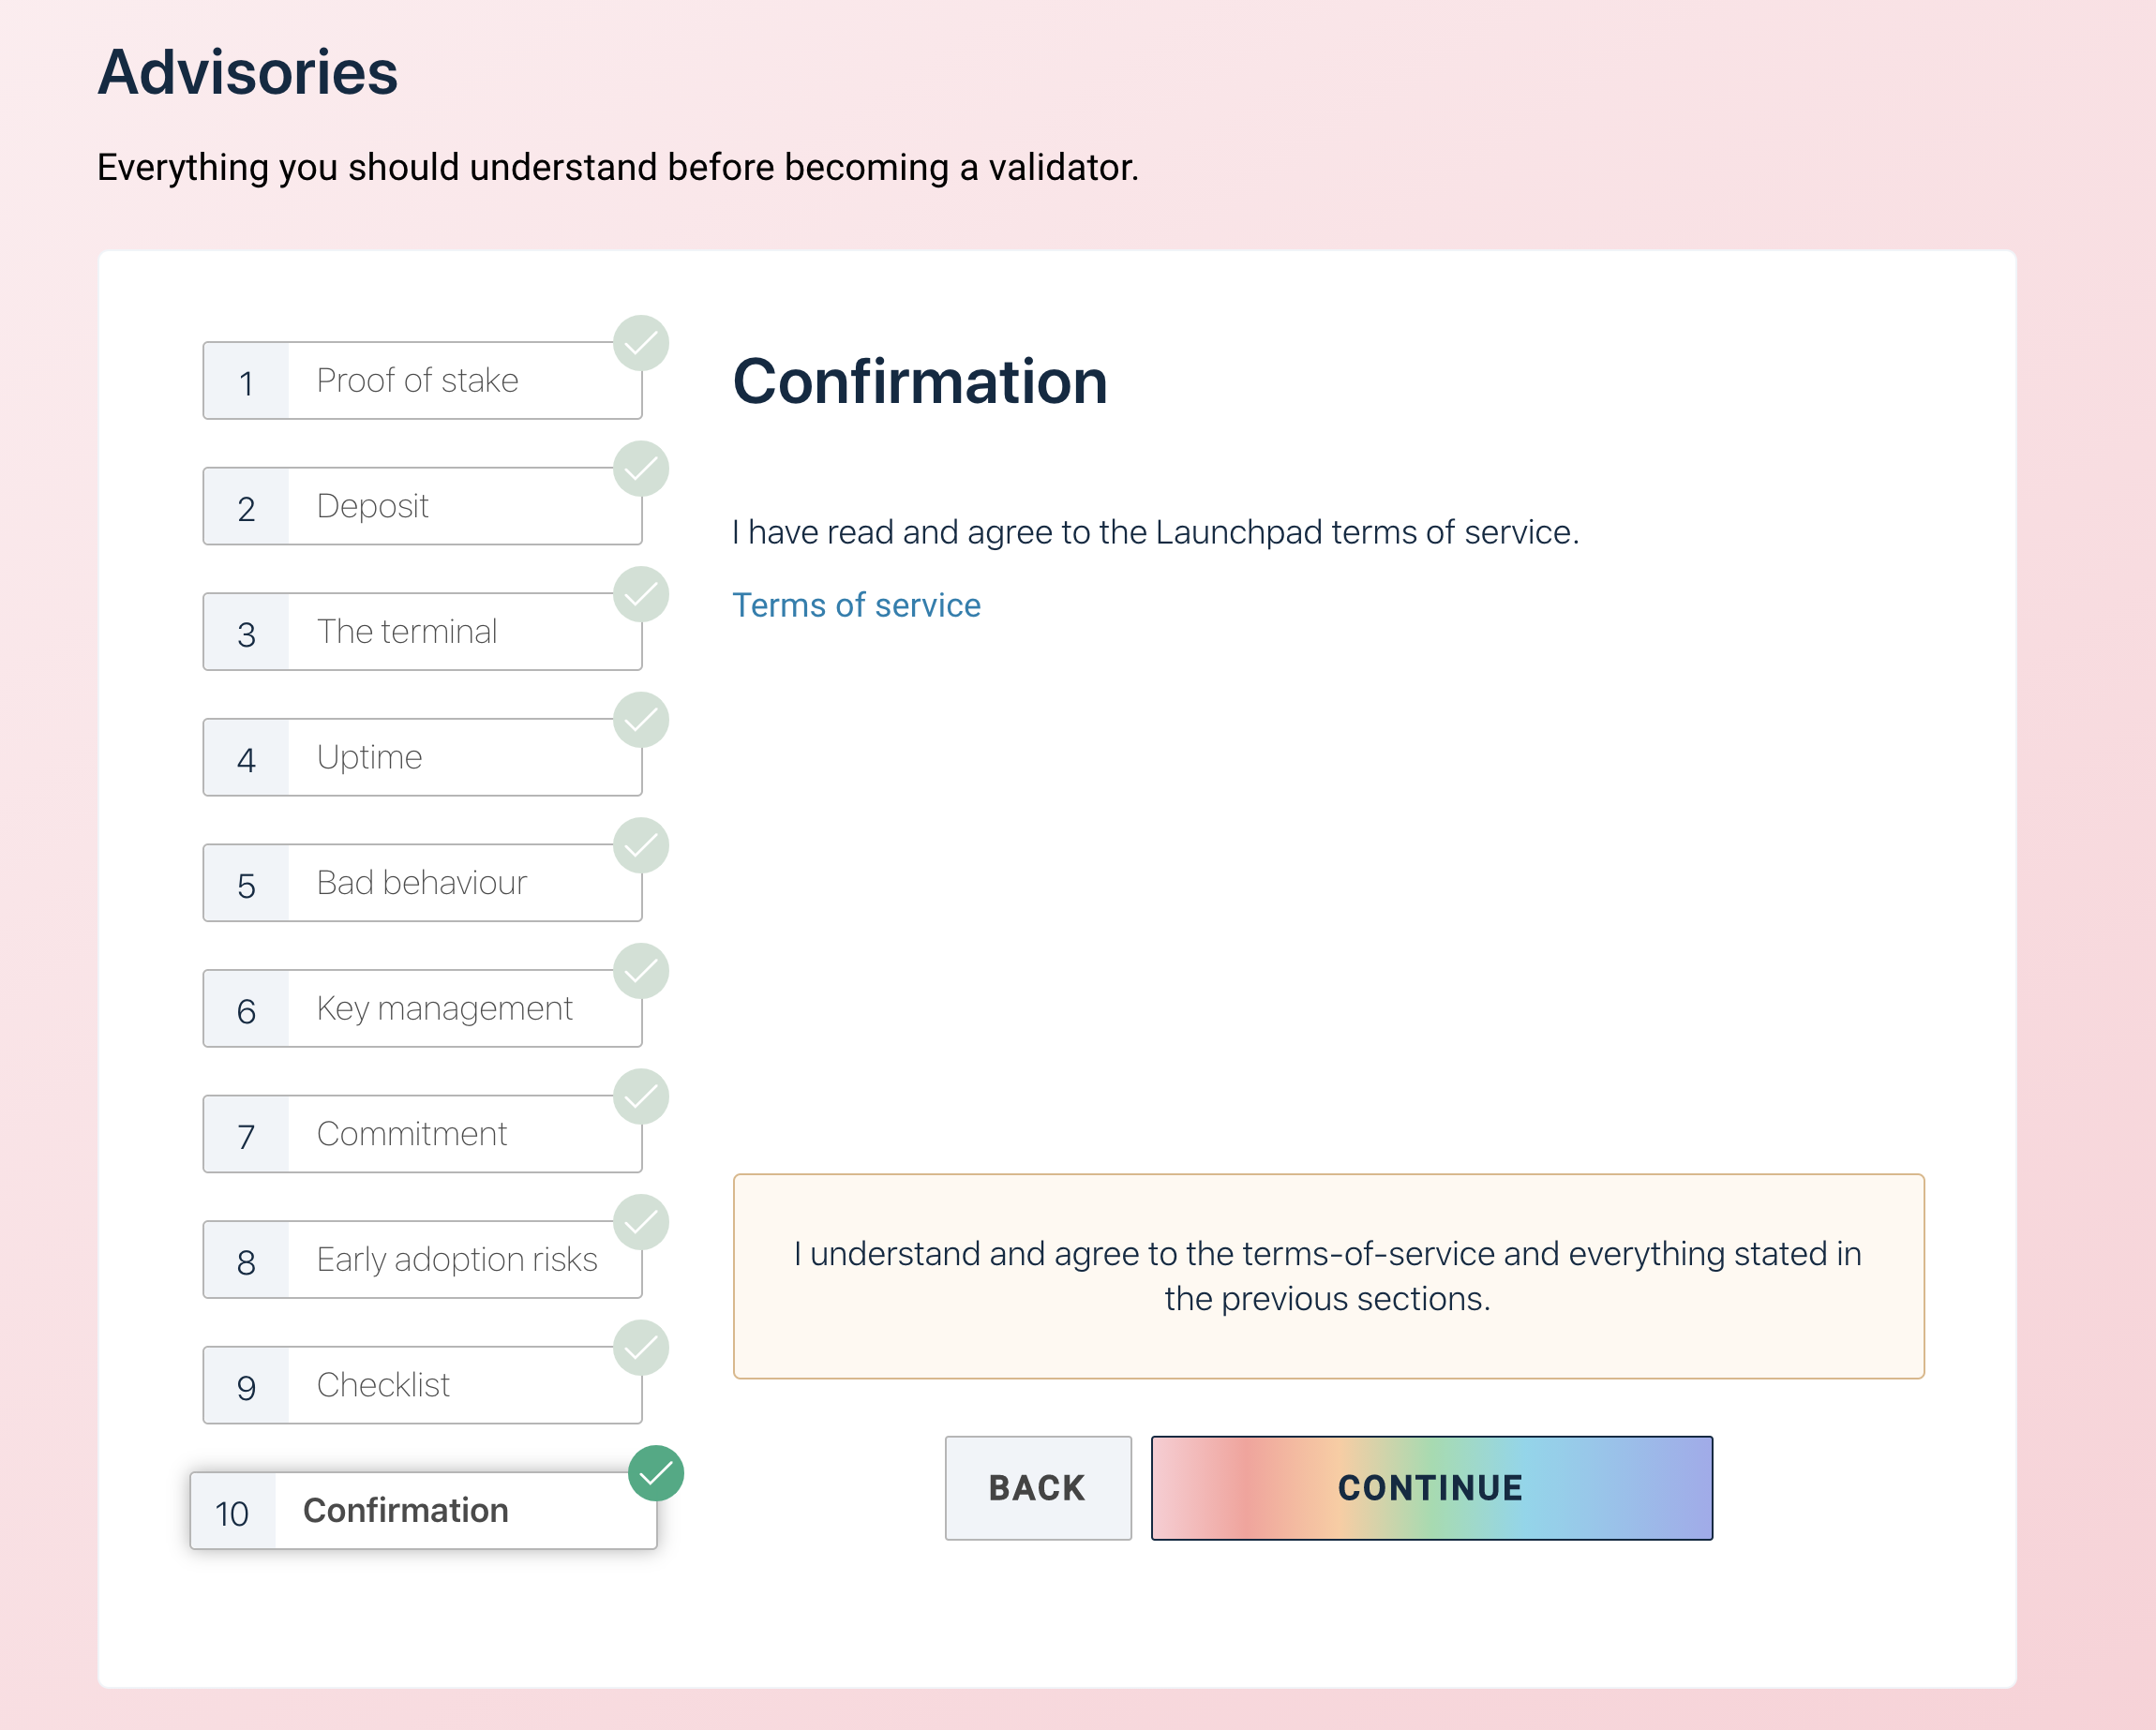
Confirmation page on the Ethereum 2.0 Launchpad
2. Choose your Eth1 client
If you want to run your own node, you can view the options for the various Eth1 providers and set up your node. Luckily, if you use Alchemy as your Eth1 provider and completely skip this step. 😃
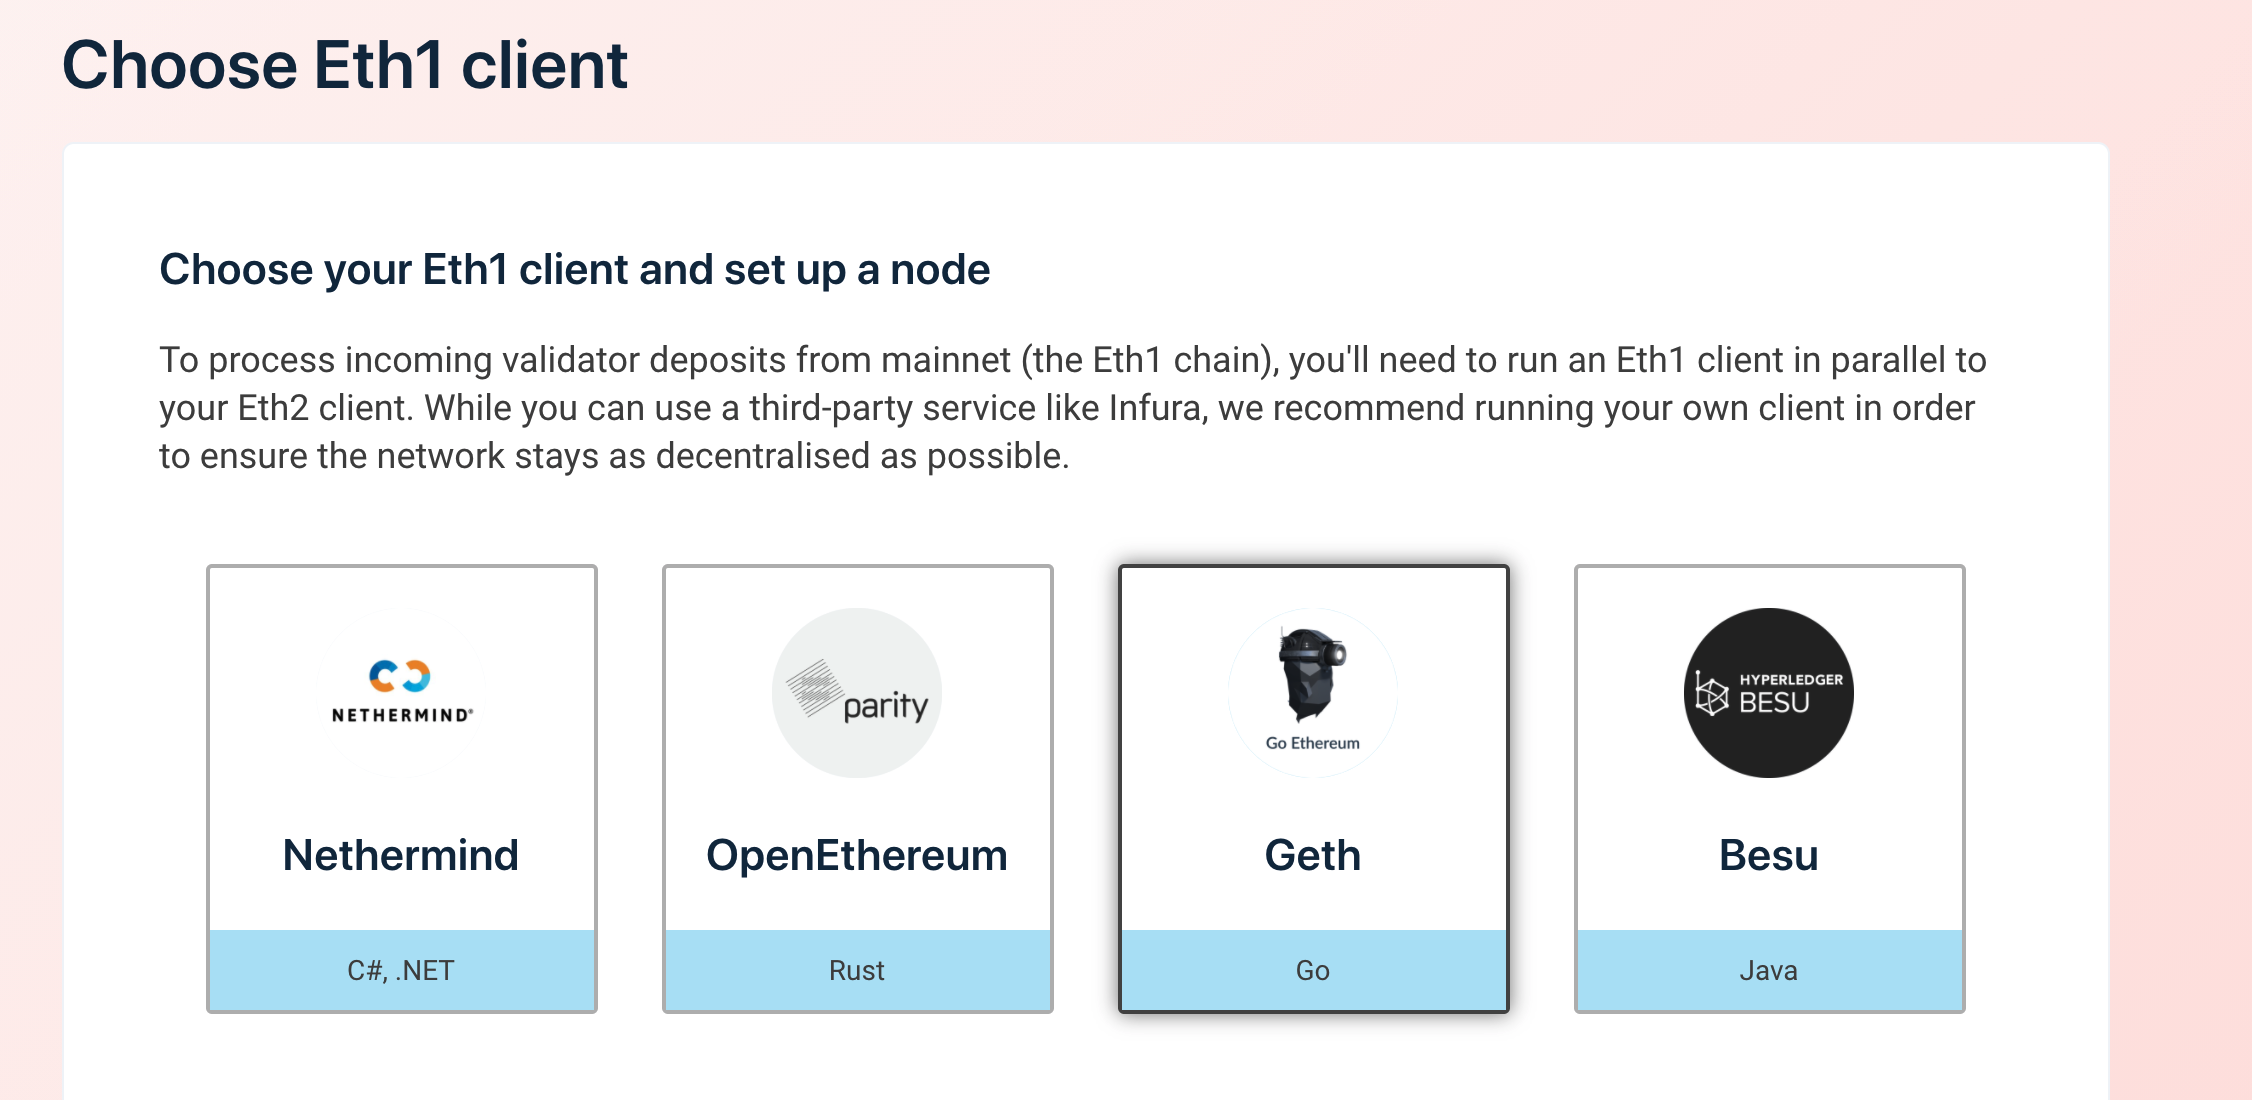
Eth 1
3. Choosing your Eth2 client
There are four major Eth2 clients which can be found here. You can find guides on how to configure Alchemy with Prysm and Teku.
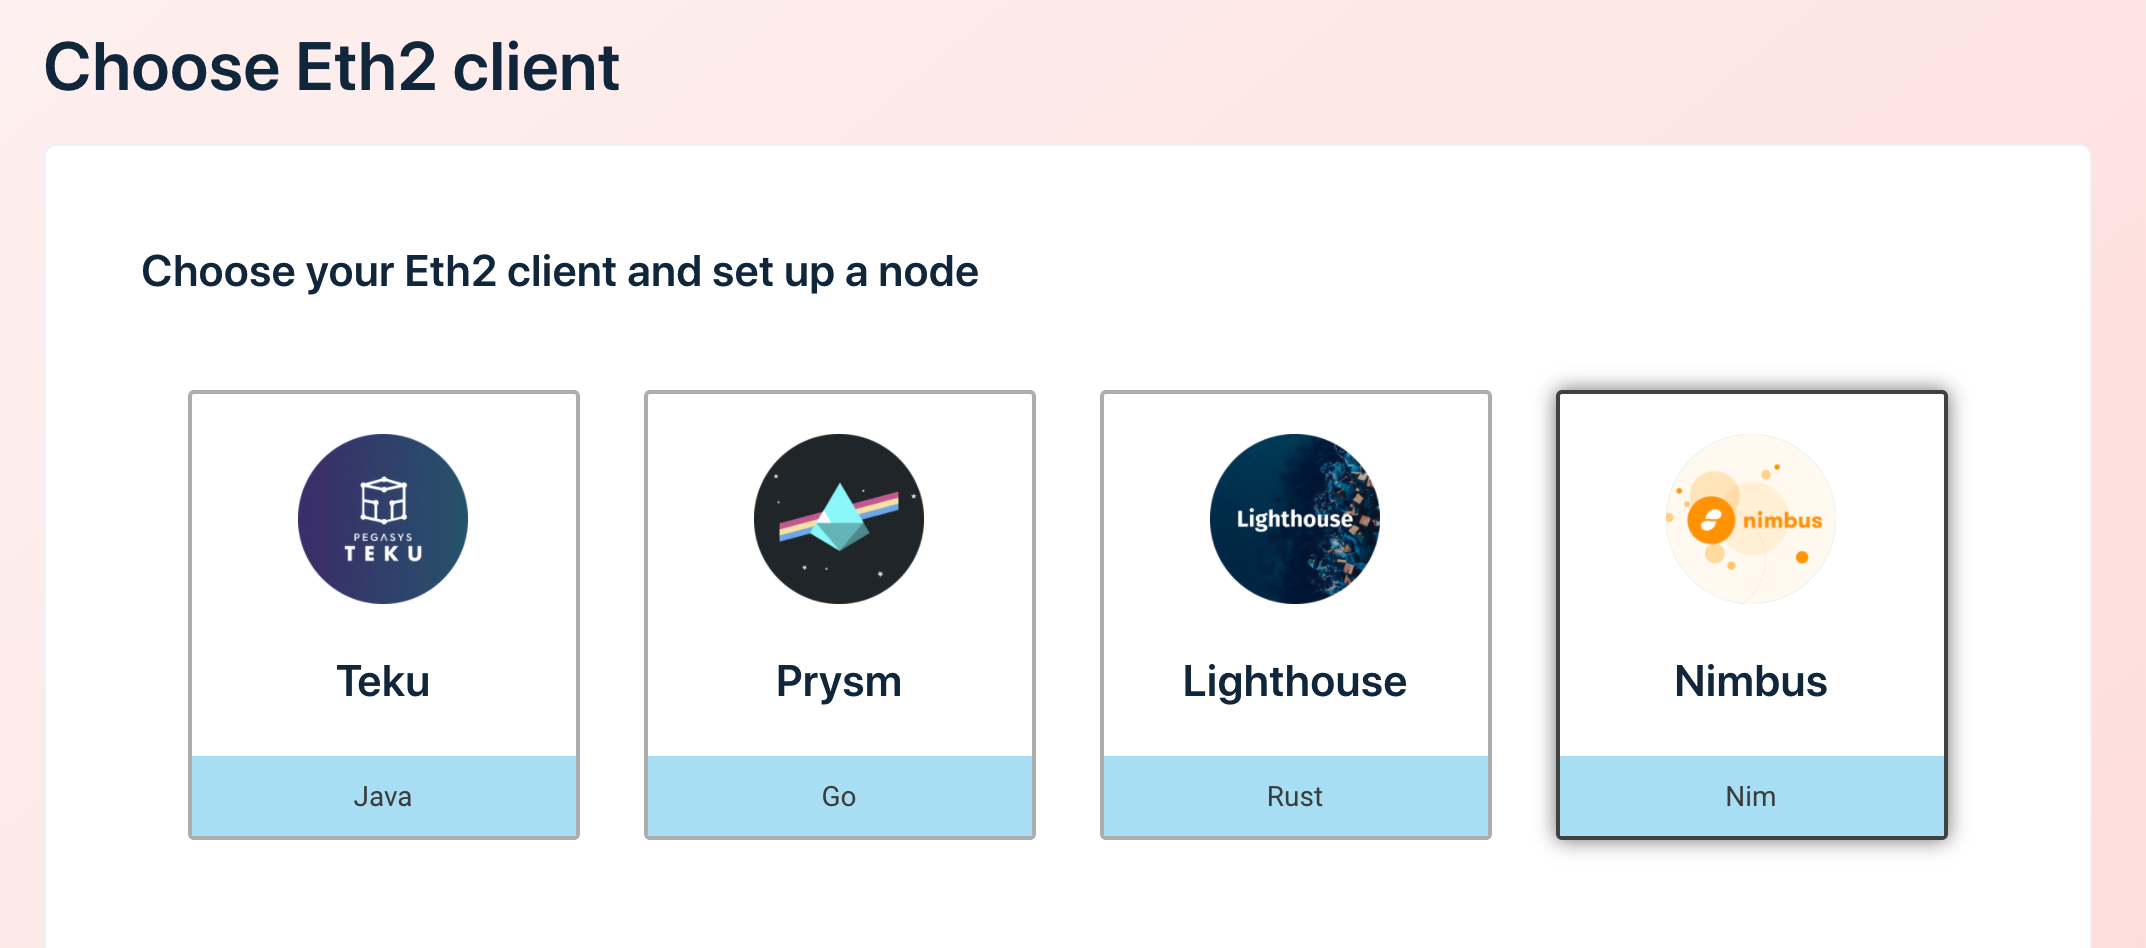
Eth 2.0 Clients
4. Generating your key pairs
Download the official keys from the Ethereum official GitHub:
https://github.com/ethereum/eth2.0-deposit-cli/releases/
You're going to want the latest release. Download the binary that is appropriate for your operating system.
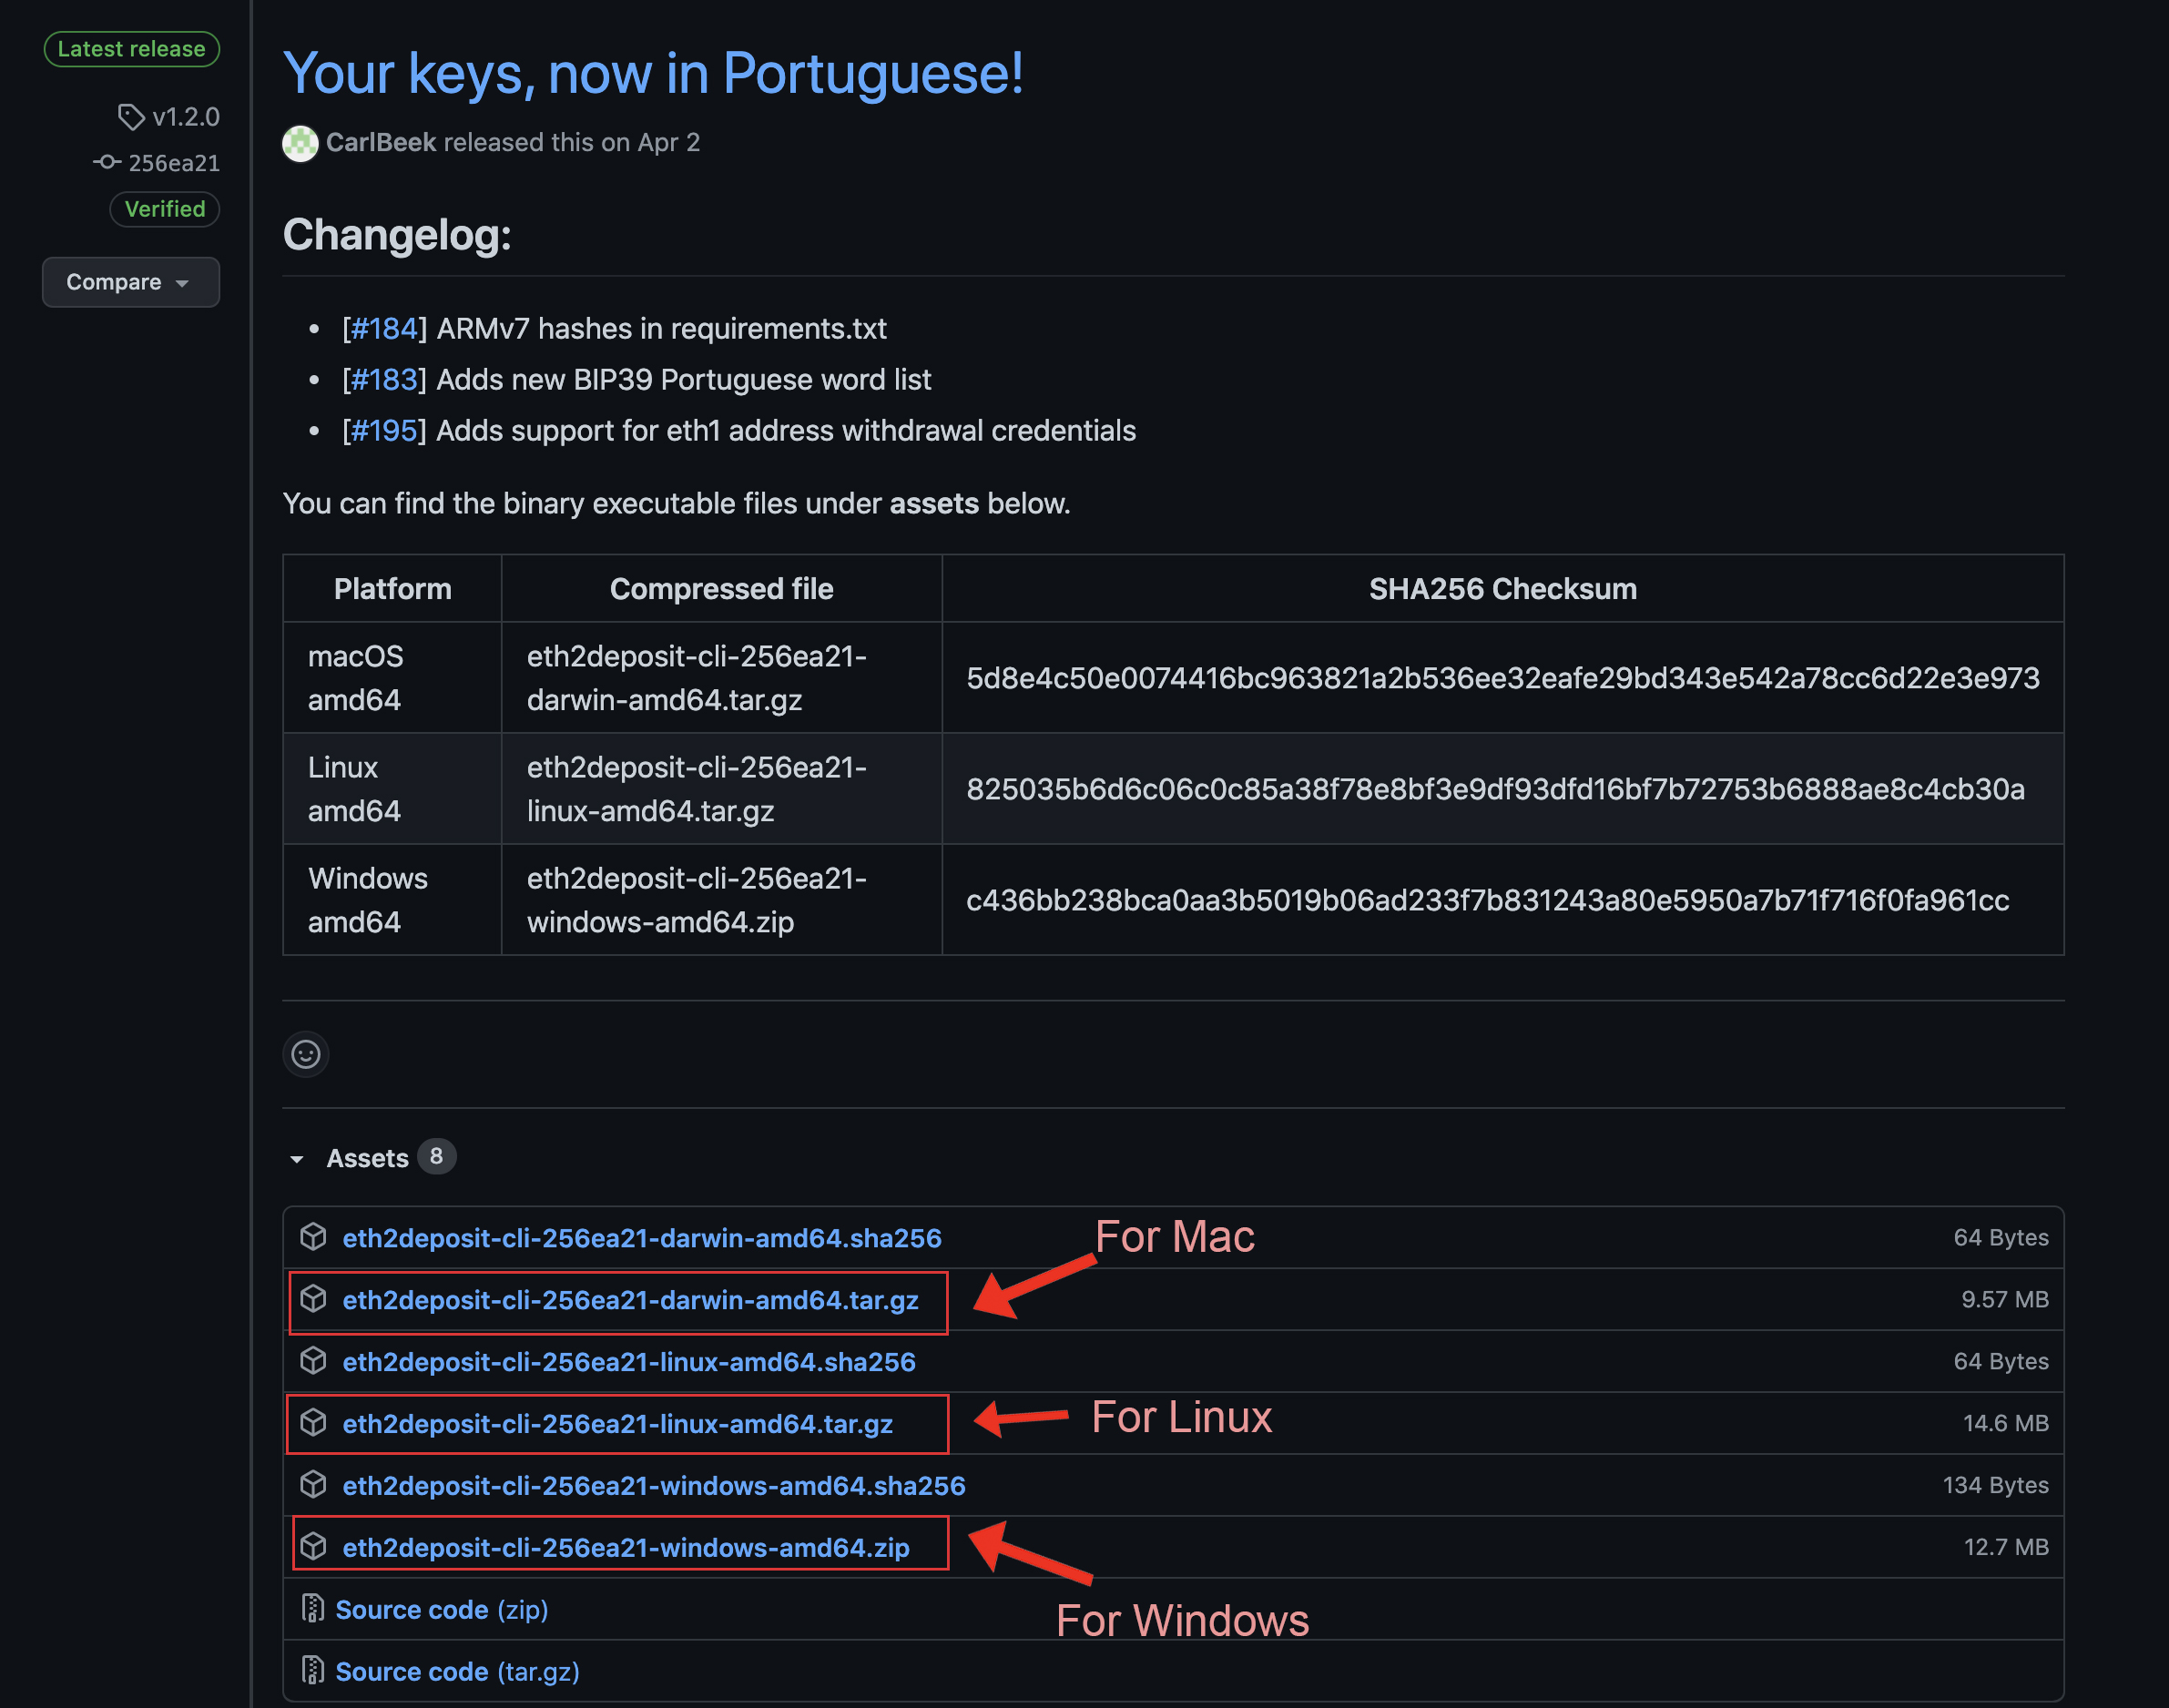
eth2deposit-cli binary choices for Mac, Linux, and Windows
- Extract the downloaded file.
- Navigate to this folder using your terminal/Powershell.
Run the deposit script
In the directory of the binary, run the deposit command to generate your mnemonic and key pair.
For Mac/Linux:
./deposit new-mnemonic --num_validators 1 --chain prater
For Windows:
.\deposit.exe new-mnemonic --num_validators 1 --chain prater
On some Macs, you may get a warning that deposit can't be opened because the developer cannot be verified. Follow apple's instructions on installing applications from unverified developers. Re-run the command after allowing access to the application.
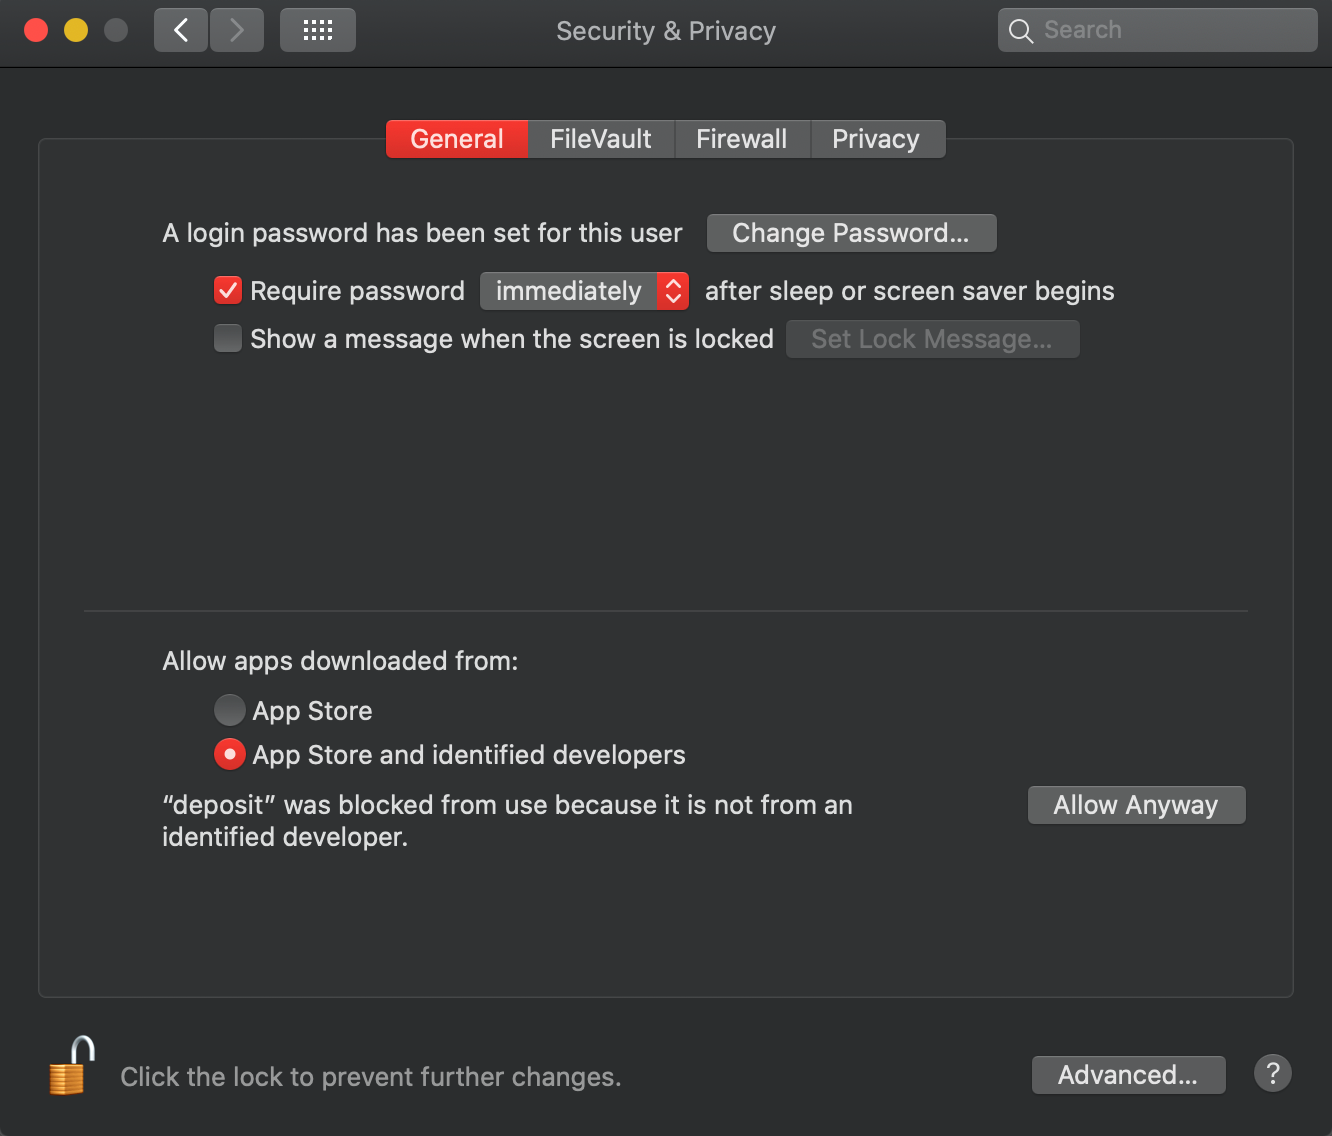
All 'deposit' to be run even if it is not an identified developer by selecting 'Allow Anyway'
Select your language. Press enter to default to English. Then enter a passphrase that can unlock your keys. Remember to keep this password!
$>./deposit new-mnemonic --num_validators 1 --chain prater

Please choose your mnemonic language (czech, chinese_traditional, chinese_simplified, english, spanish, italian, portuguese, korean) [english]:
Type the password that secures your validator keystore(s):
Repeat for confirmation:
After confirming your password, you will be handed a mnemonic. This is a collection of words that represent your key. It's extremely important that you have a private copy of these keys. This key is the only way to get your deposit back. Loss of this key could result in the loss of the 32 Eth deposit or have your deposit stolen from you.
This is your seed phrase. Write it down and store it safely,
it is the ONLY way to retrieve your deposit.


canvas vocal patient lock knife famous meadow rookie
symptom hub never plate sleep annual beauty pencil title reveal
blade clock sponsor sausage fan battle


Press any key when you have written down your mnemonic.
Next, paste your mnemonic into the terminal input. On success, you will see a Rhino and the output location of your keys! Keep track of this location as it will be helpful when setting up your Eth 2.0 client.
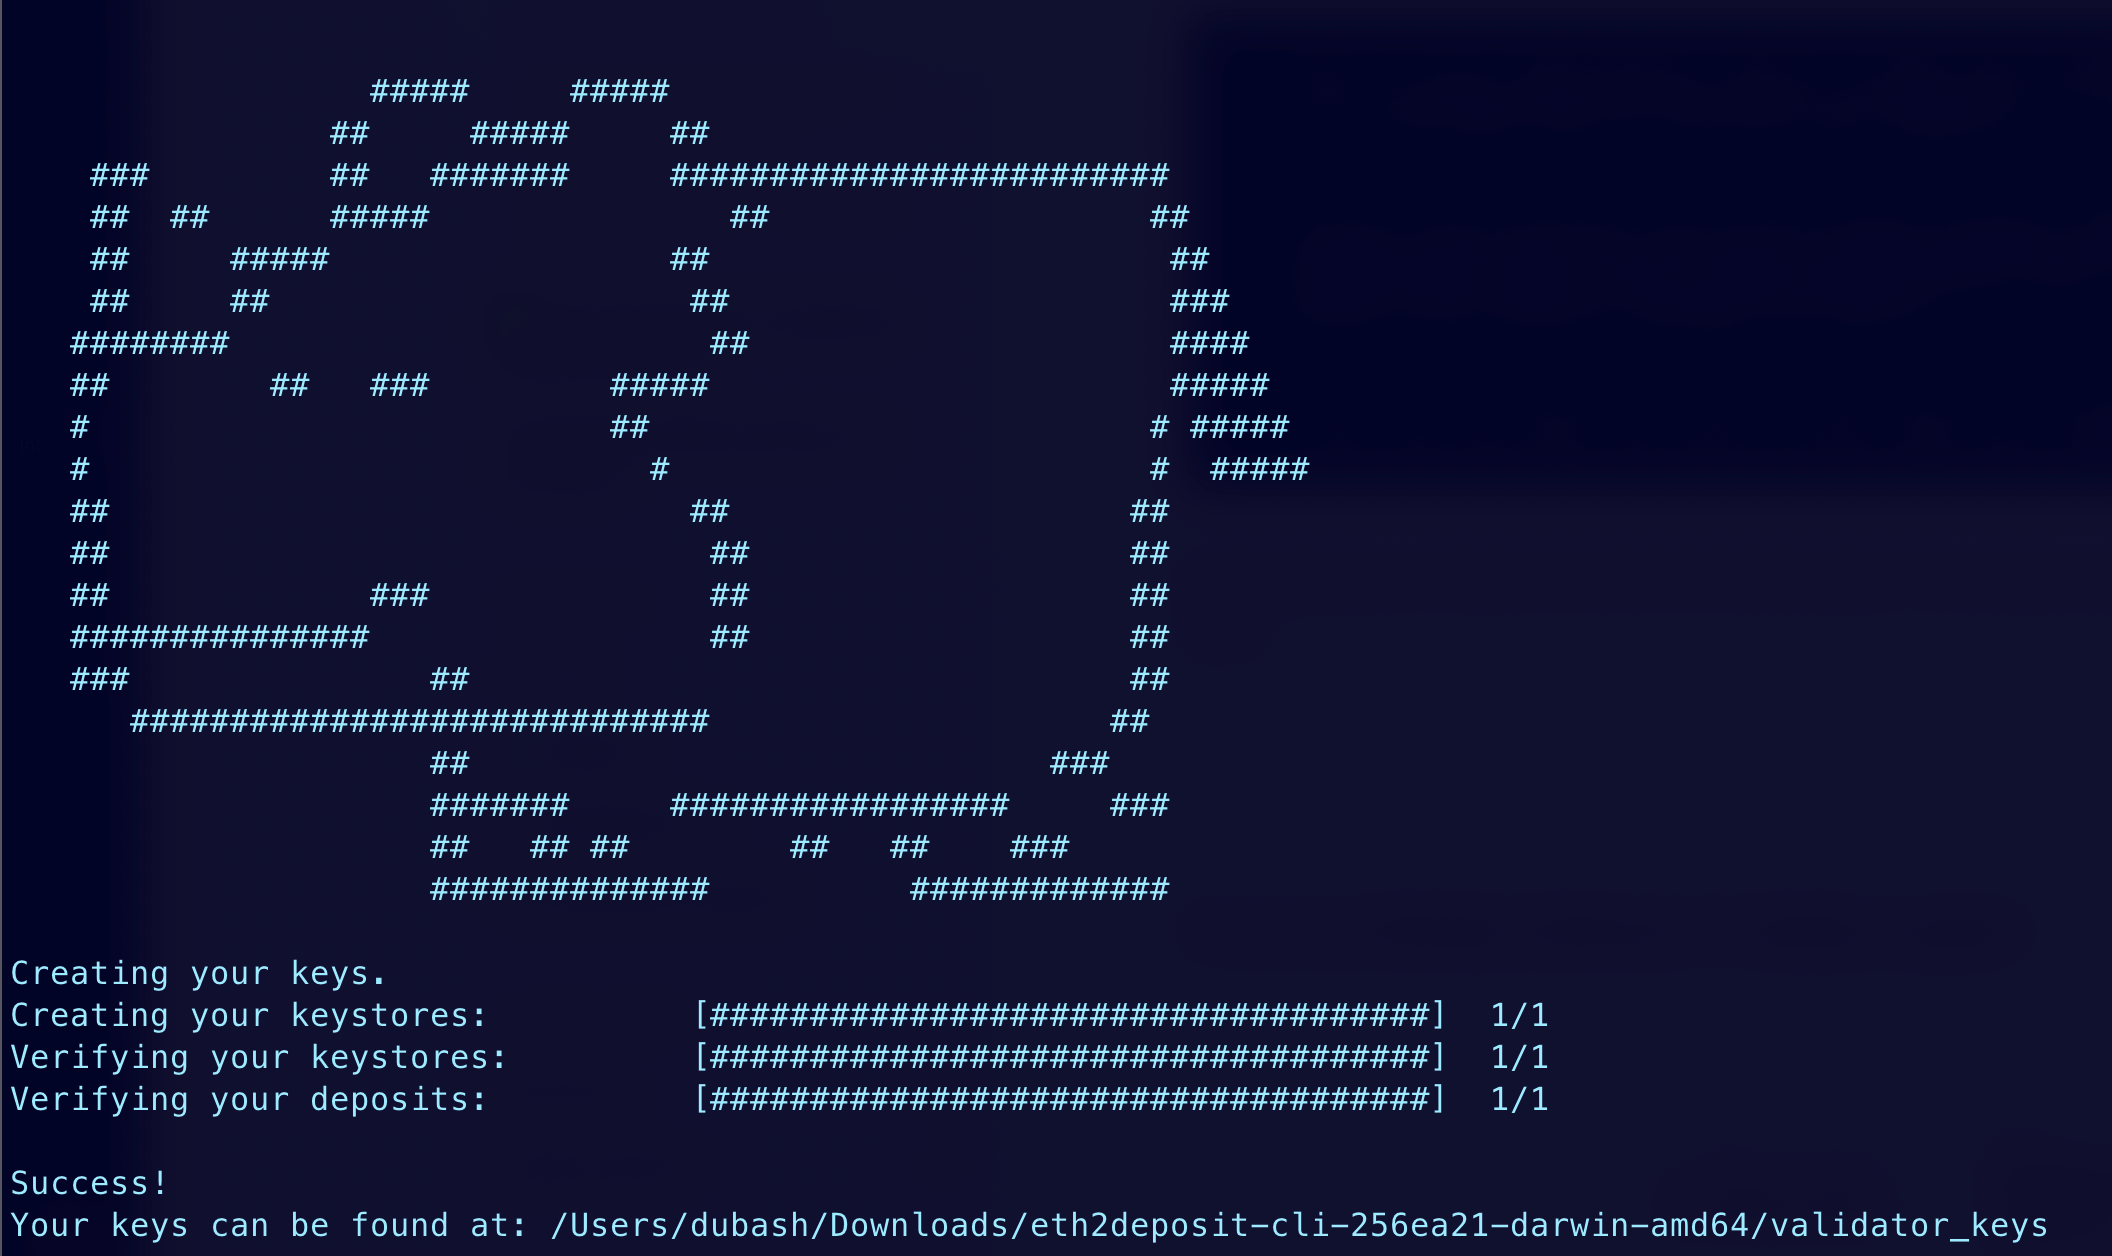
Successful generation of your keys
5. Submit your keys to launchpage
Upload your validator keys to launch pad. If you generated keys on the wrong network, the launchpad will prevent you from progressing. You can switch the network you are on by clicking on the top right corner.
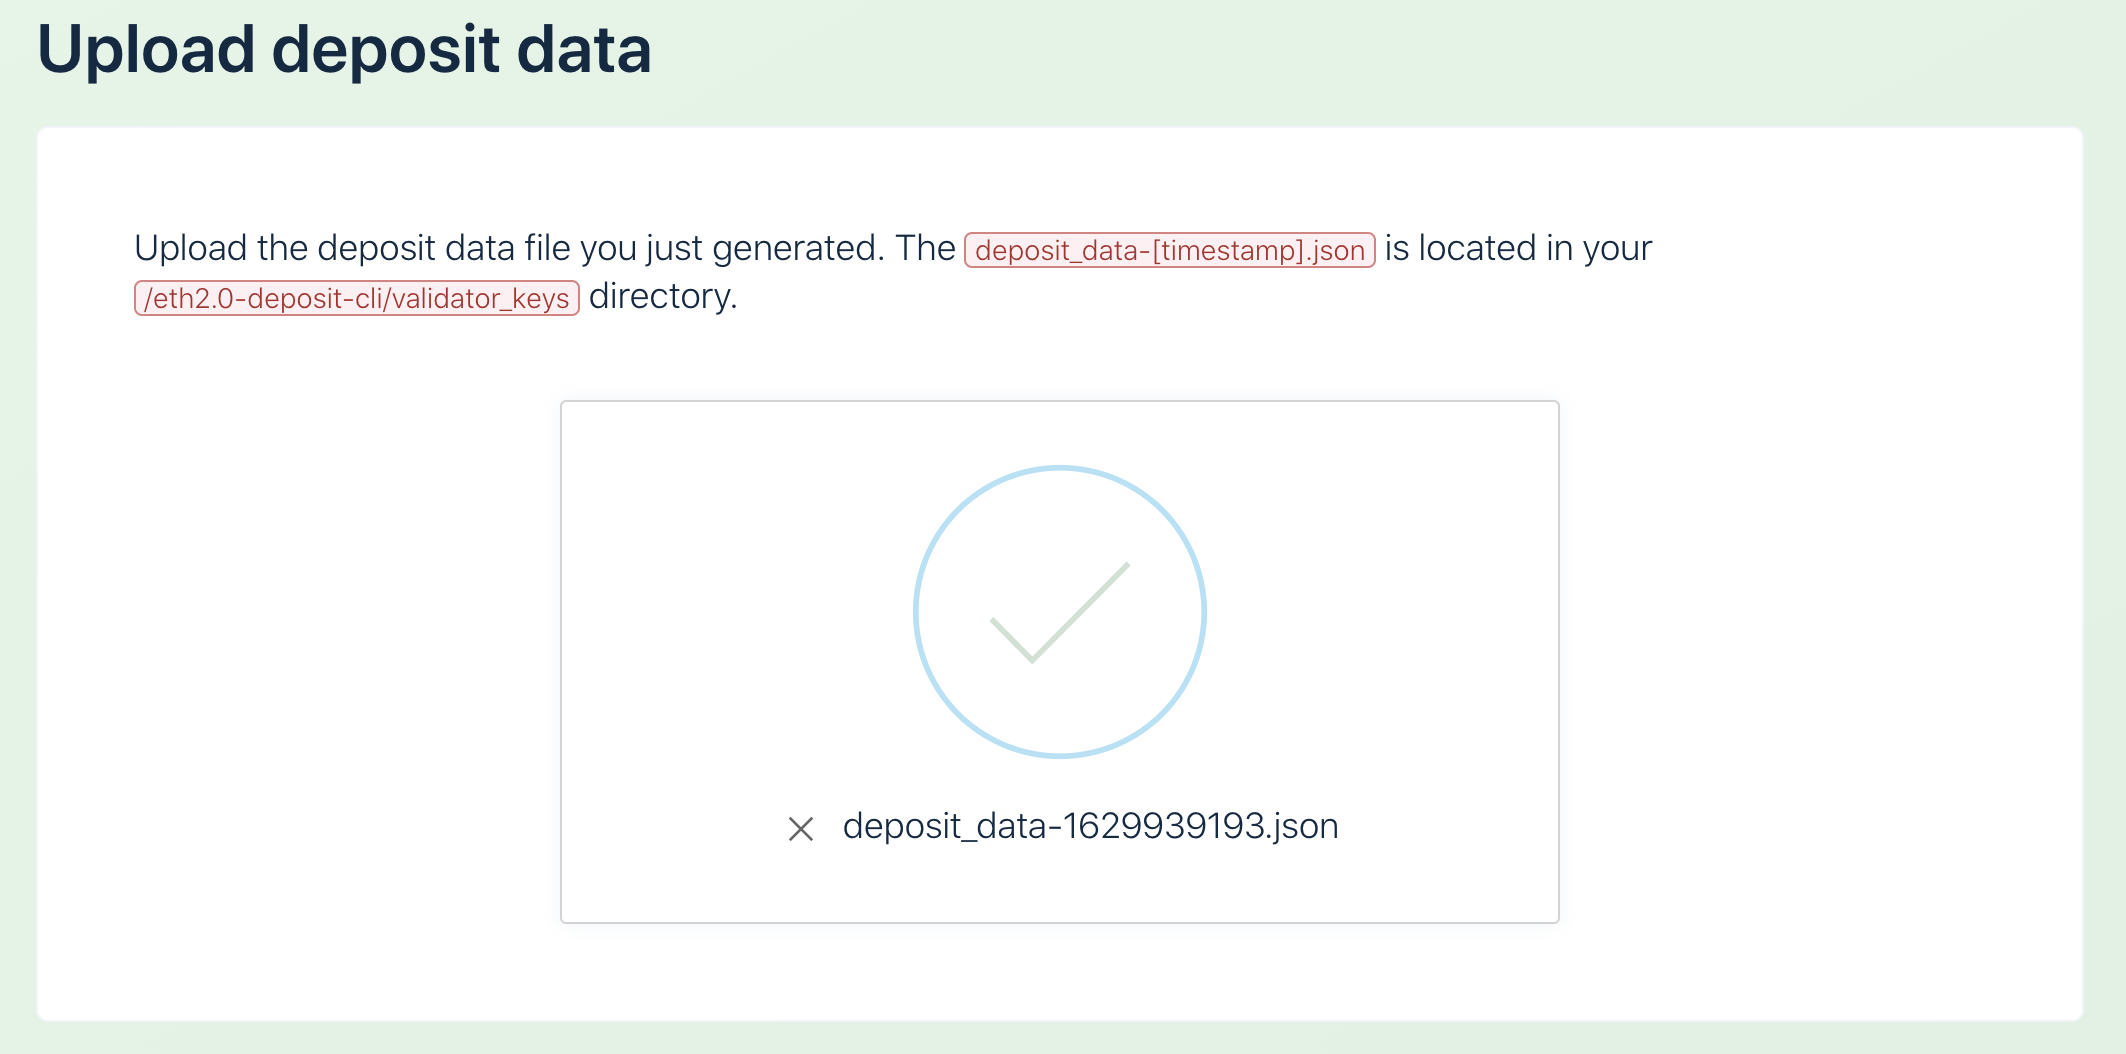
Successful upload of validator keys
6. Submit your keys to launchpad
Connect your wallet to the launchpad. In this demo, we will be using metamask. Switch your network to Goerli. If you are on the right network and have the required 32 Eth, you will be able to proceed. If you need the Goerli test ether, you can get 35 Eth from the public faucet.
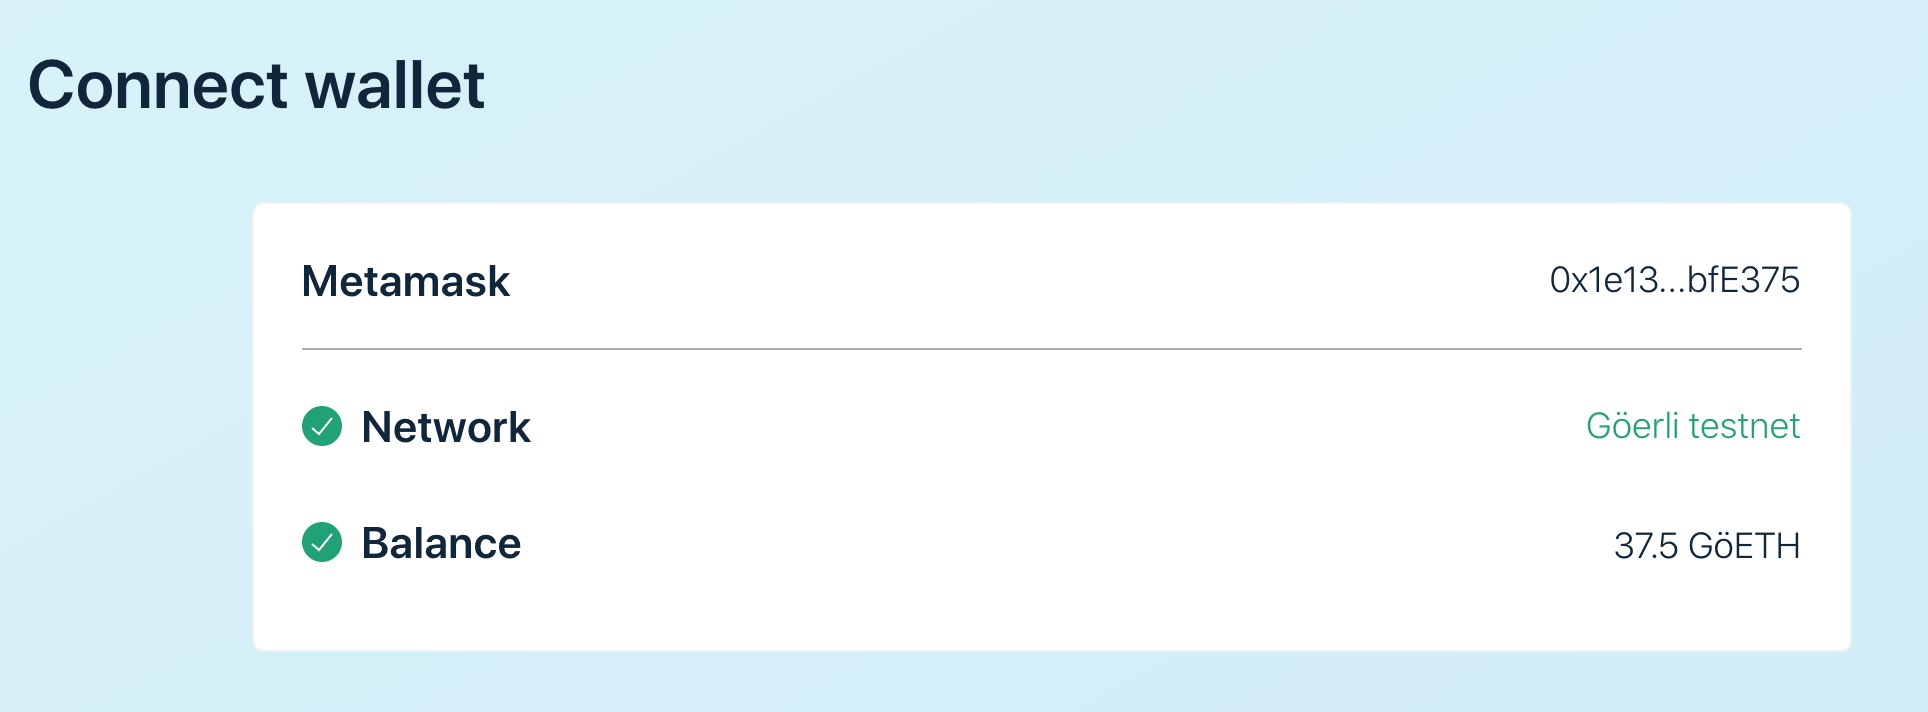
Connecting your wallet and validating 32 Eth requirement
7. Send your deposit
Review the requirements and click continue. When ready, submit your transaction to the beacon chain!
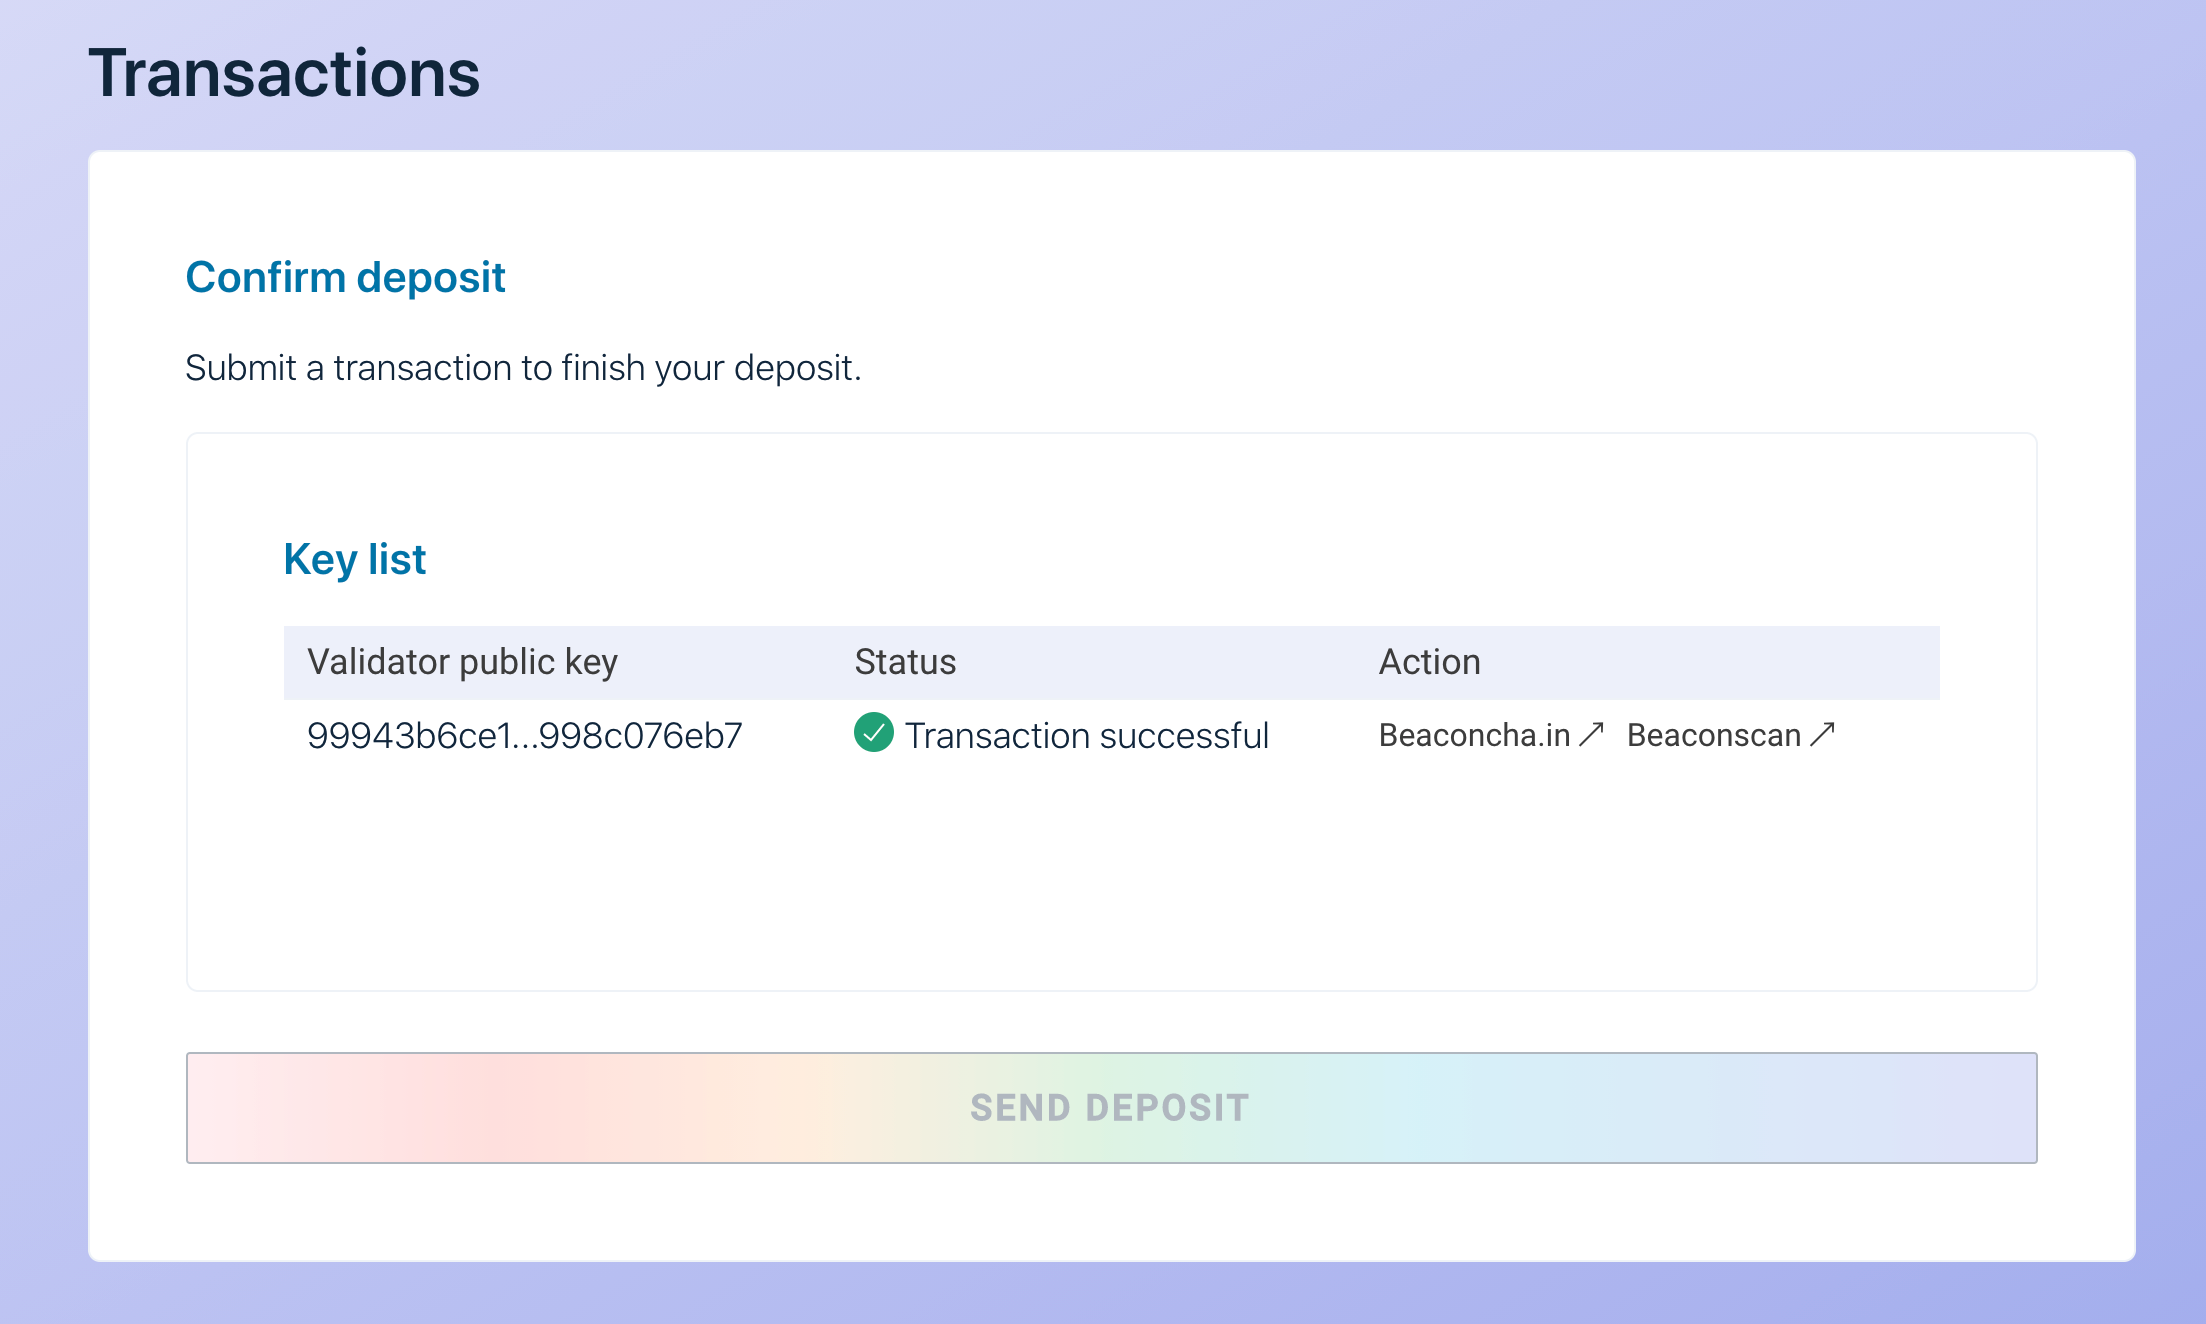
Successful submission of initial deposit for beacon chain

Success message after sending a deposit
8. Set up Eth 2.0 client
Congrats! You have successfully submitted your initial deposit to the beacon chain. The final step is to set up your Eth 2.0 client! Alchemy has guides on how to set up both Prysm and Teku:
Updated over 2 years ago
